
Battery box 8x18650 Long Life
Expected uptime: 1-2 Months
Components
Tools and materials
Assembly
Testing
Cost
Advanced variants
Disclaimer
This is not a toy.
The box is powered by a pack of 18650 cells, and it can be potentially dangerous if handled improperly.
It’s also quite heavy, and mounting requires careful planning.
Please approach the build and installation responsibly.
Introduction
The basic principles will be the same as with the 2x18650 box: waterproof, ease of assembly and maintenance, and availability of parts. In this enclosure, there is more space, allowing you to install a larger number of 18650 cells and even extras like an on/off switch ;-)
Depending on the cells used, total capacity can exceed 15,000 -20.000mAh, which means that under moderate weather conditions, the box can easily operate for more than a month (with energy-efficient components like Faketec and no additional sensors or GPS).
Keep in mind that a fully loaded box with batteries will weigh over 600 g, that’s a brick. It will require solid mounting, and you can’t attach it just anywhere.
With this in mind, you get a solid device that is easy to build and maintain. The large battery capacity gives an “extended service interval” and can be an excellent solution for locations where installing a repeater with a solar panel is not possible.
Use cases:
alternative to a solar node
long-term testing
emergency situations such as mehs recovery
Components
Required parts
Faktec V4 board
SMA /ipx pigtail 5cm long
IP67 ABS case 115x90x55 ( grey/black)
on/off swith
JST pigtails
Double-sided tape for securing components inside.
Piece of foam, or other matierl to secure batteries inside the case.
BMS
2x 4x18650 plastic holder
2xM2.5 screw + nut to fix the swith
Optional parts
3d parts (link to 3d files in downlad section)
Tools and materials
Soldering Iron + solder
Wire cutting pliers.
Good lighting.
A set of small files.
A hand drill and a set of small drill bits.
Heat shrink tubing.
Wires
insulation tape
Assembly
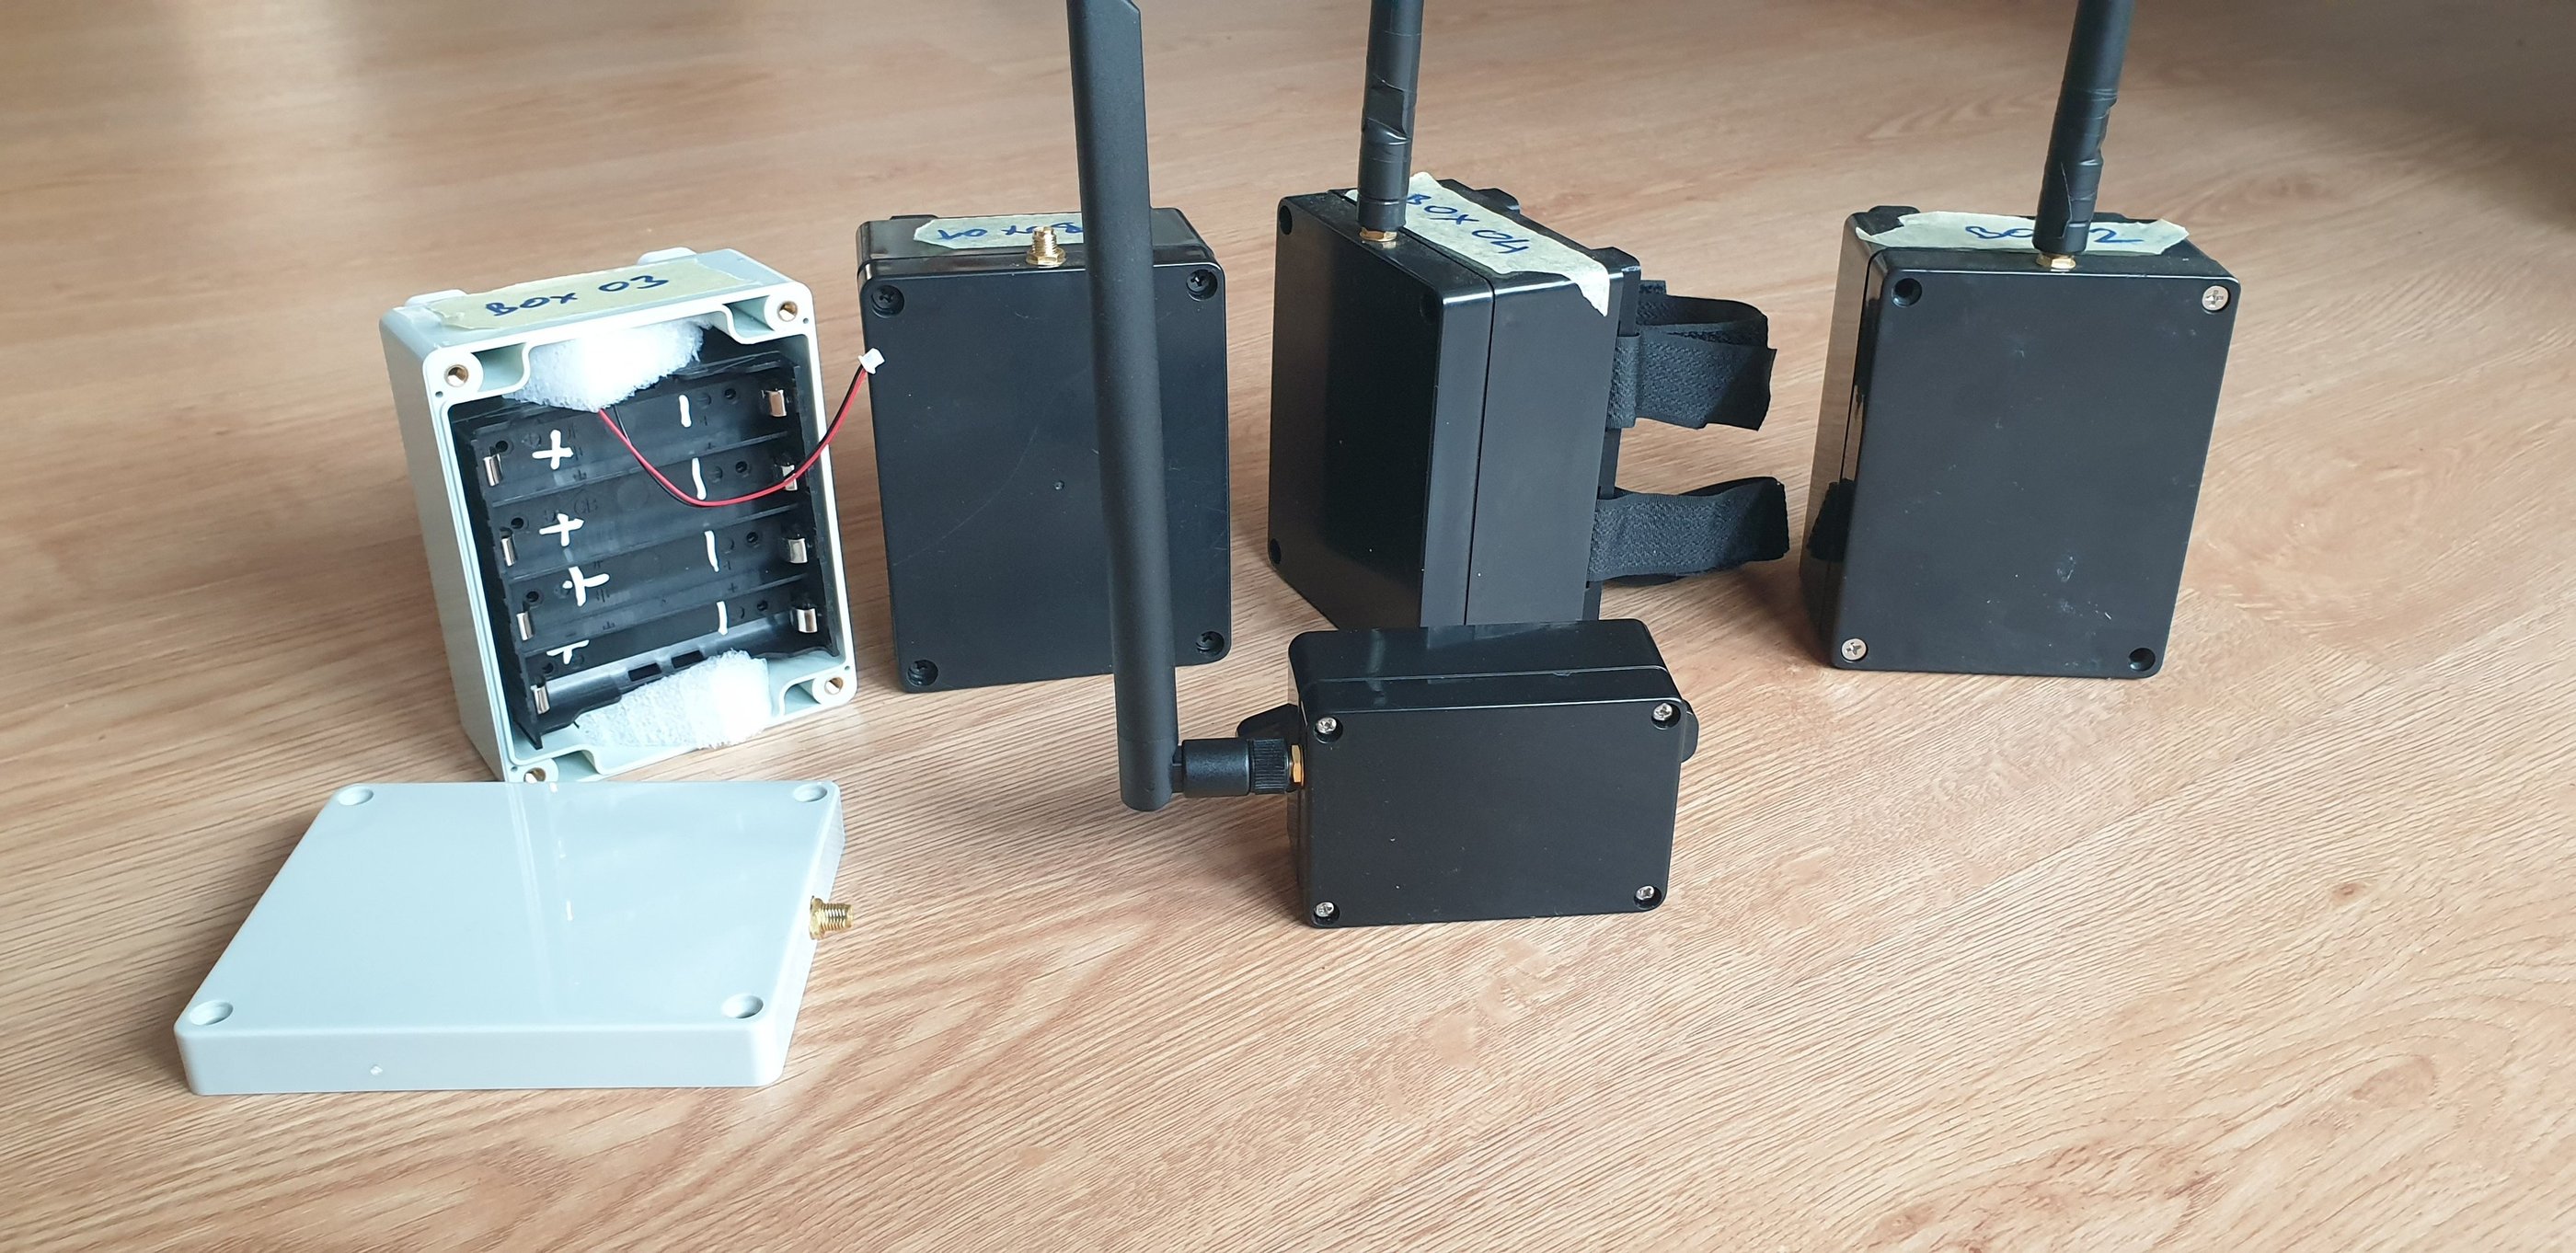
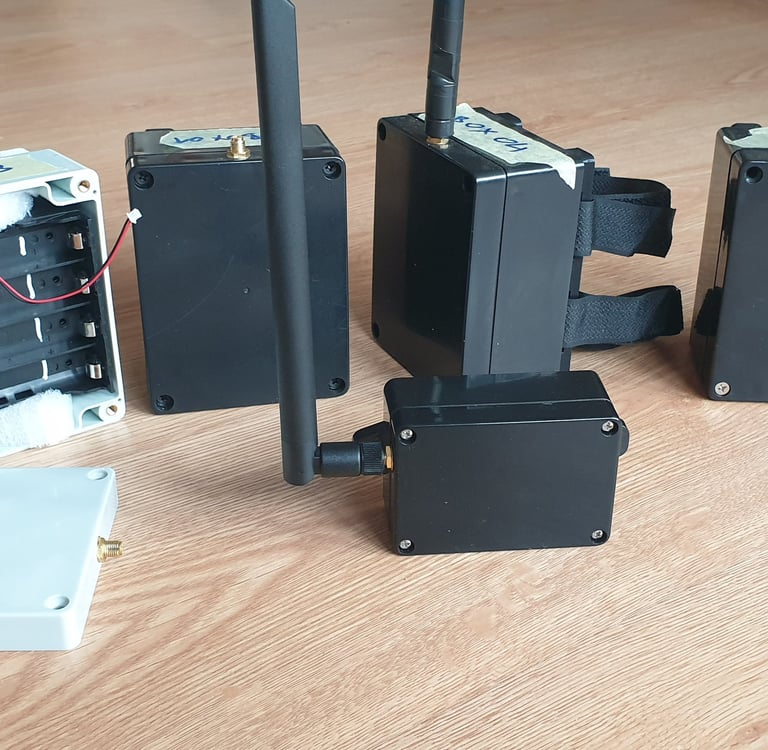
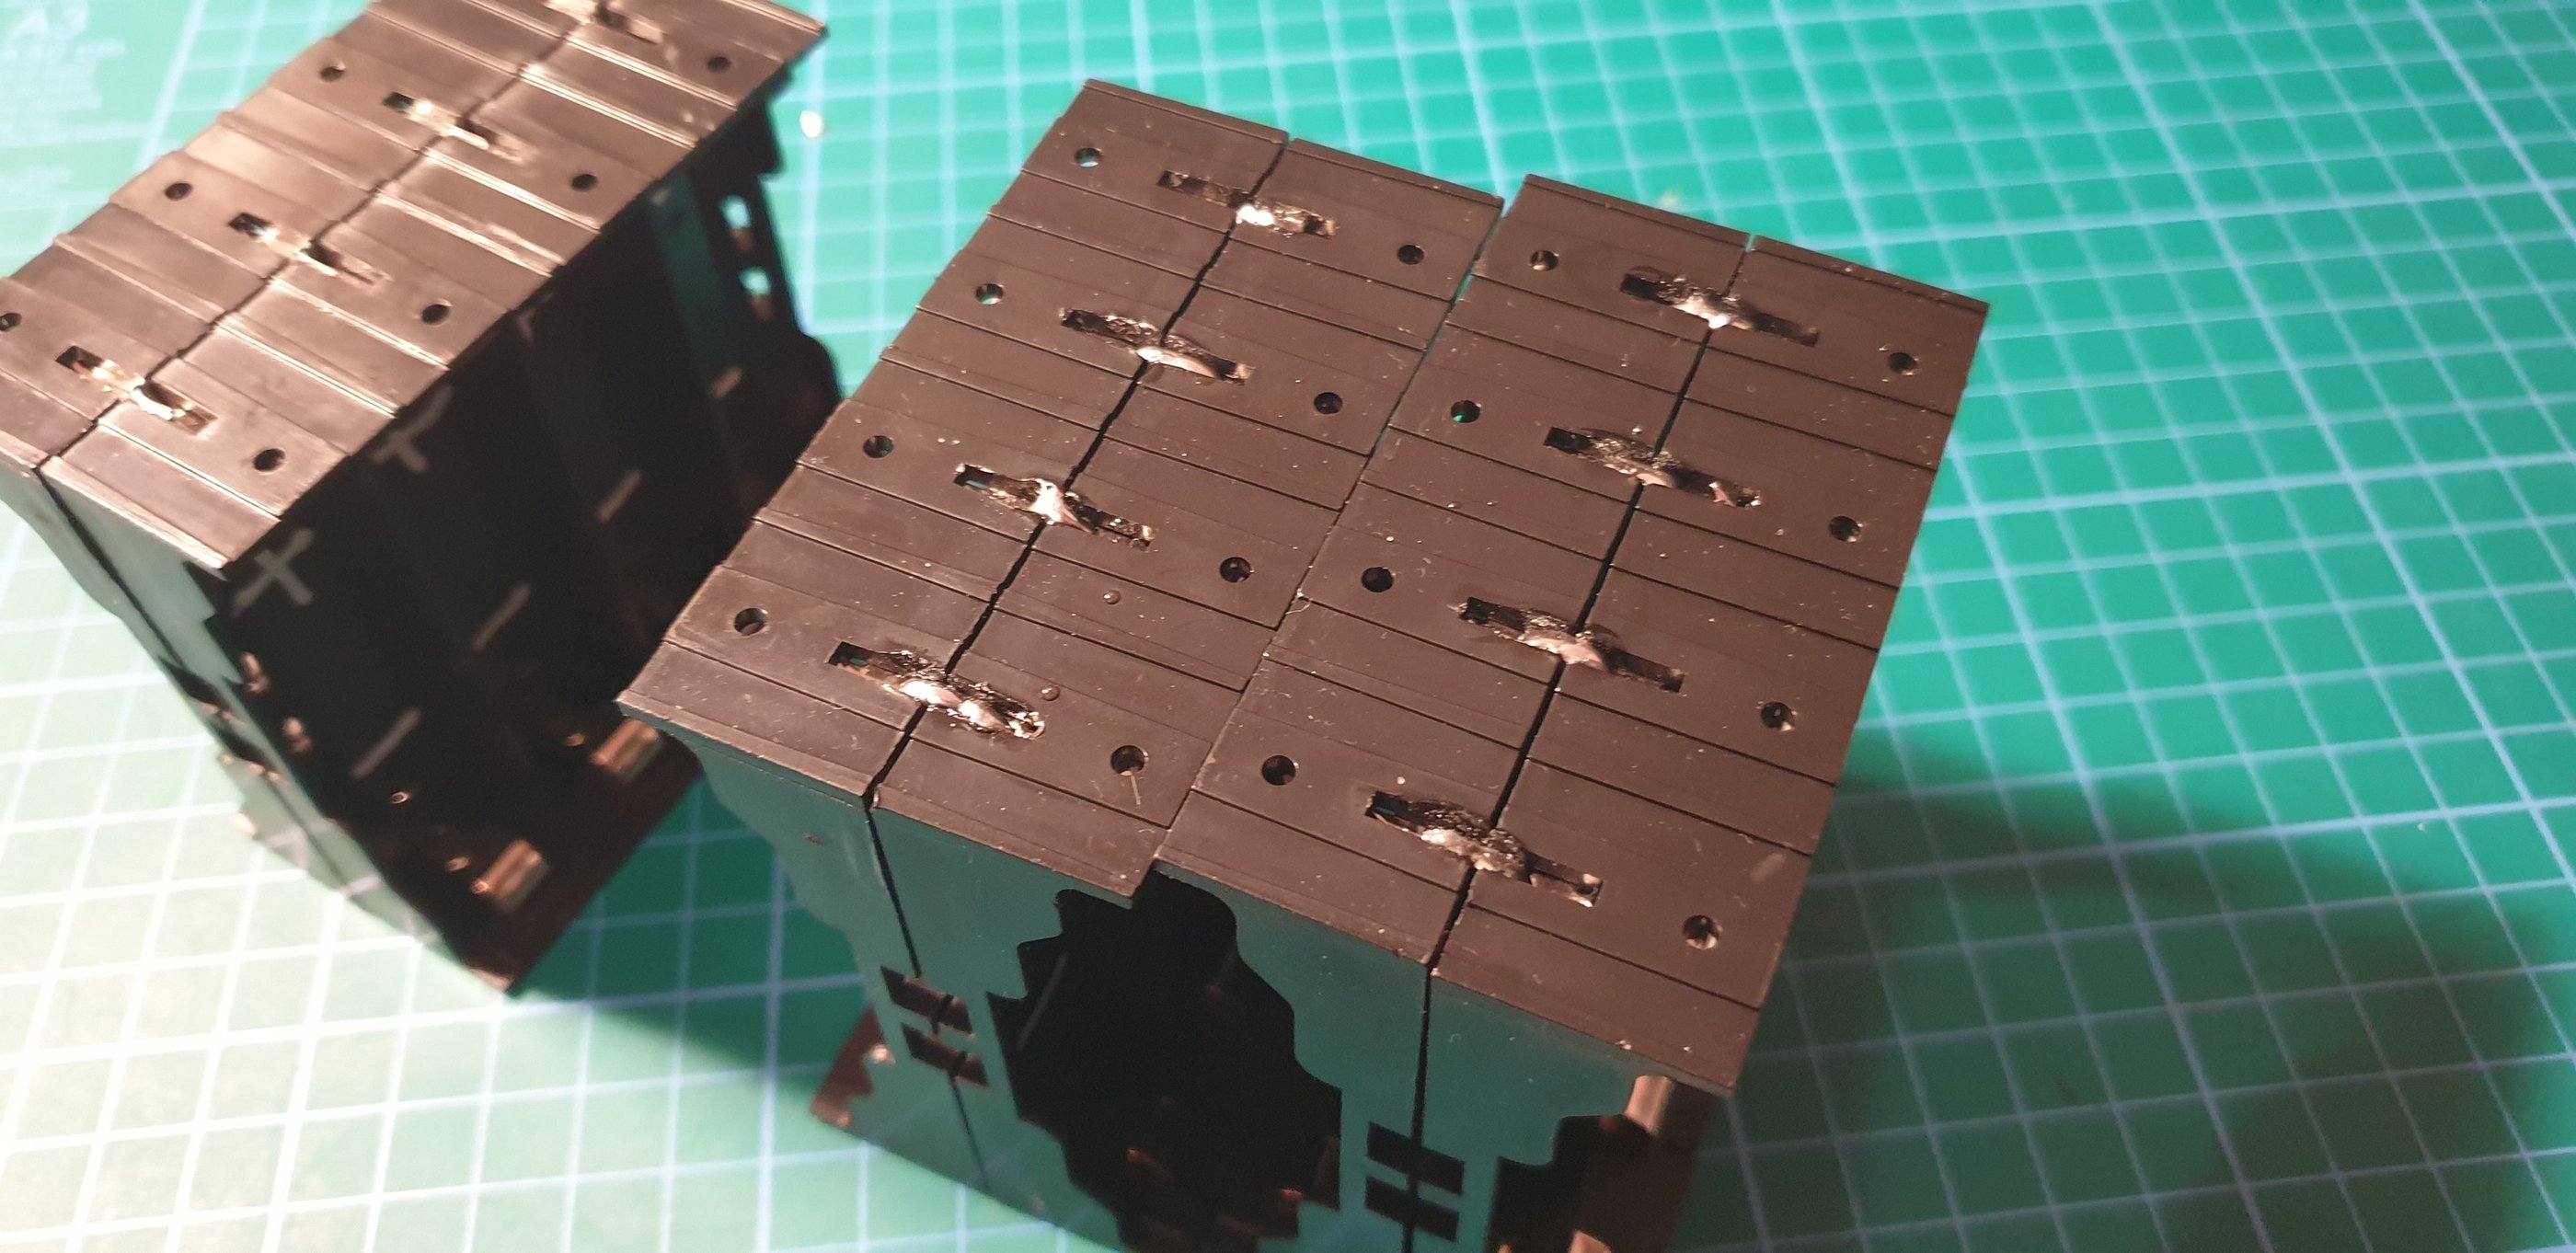
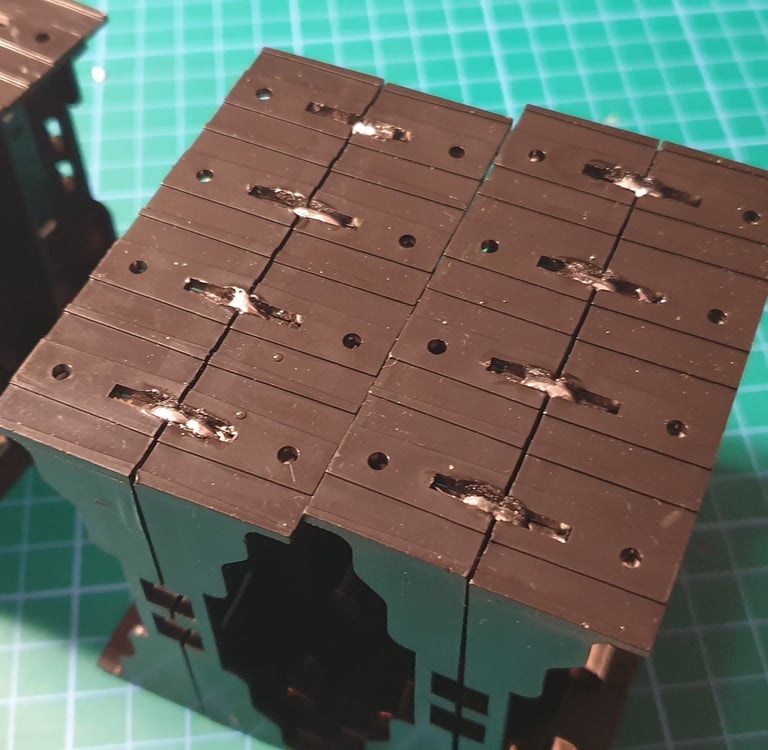
Boxes ready for operation, and a size comparison to smallerbrother 2x18650
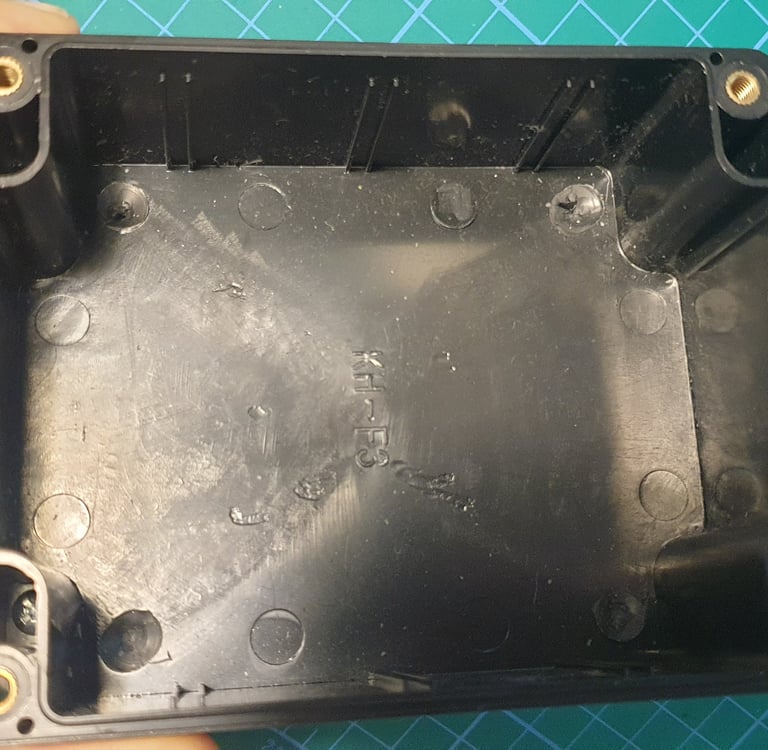
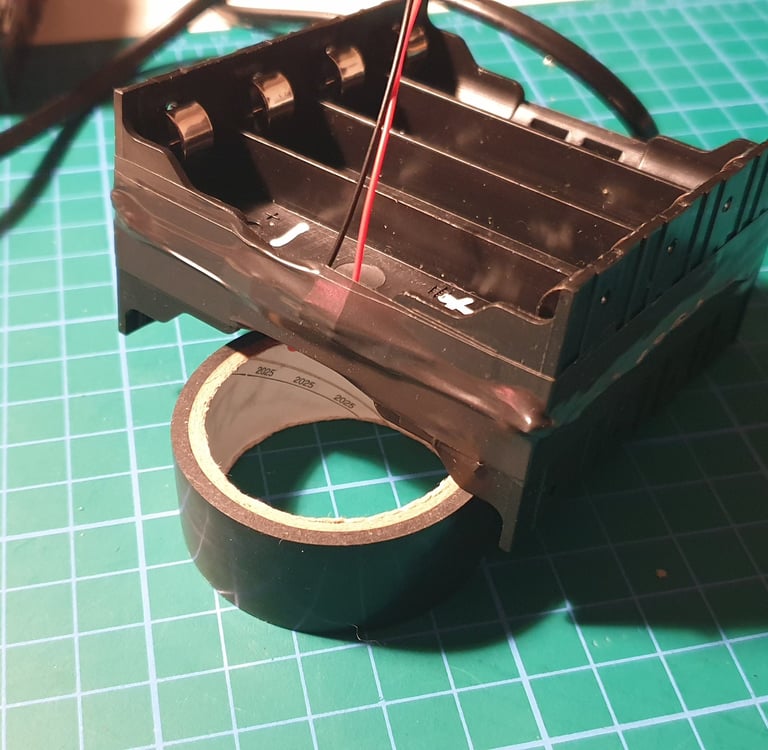
First, you need to prepare space for the battery pack. Remove the supports from the bottom. I use an 8–10 mm drill bit for this.

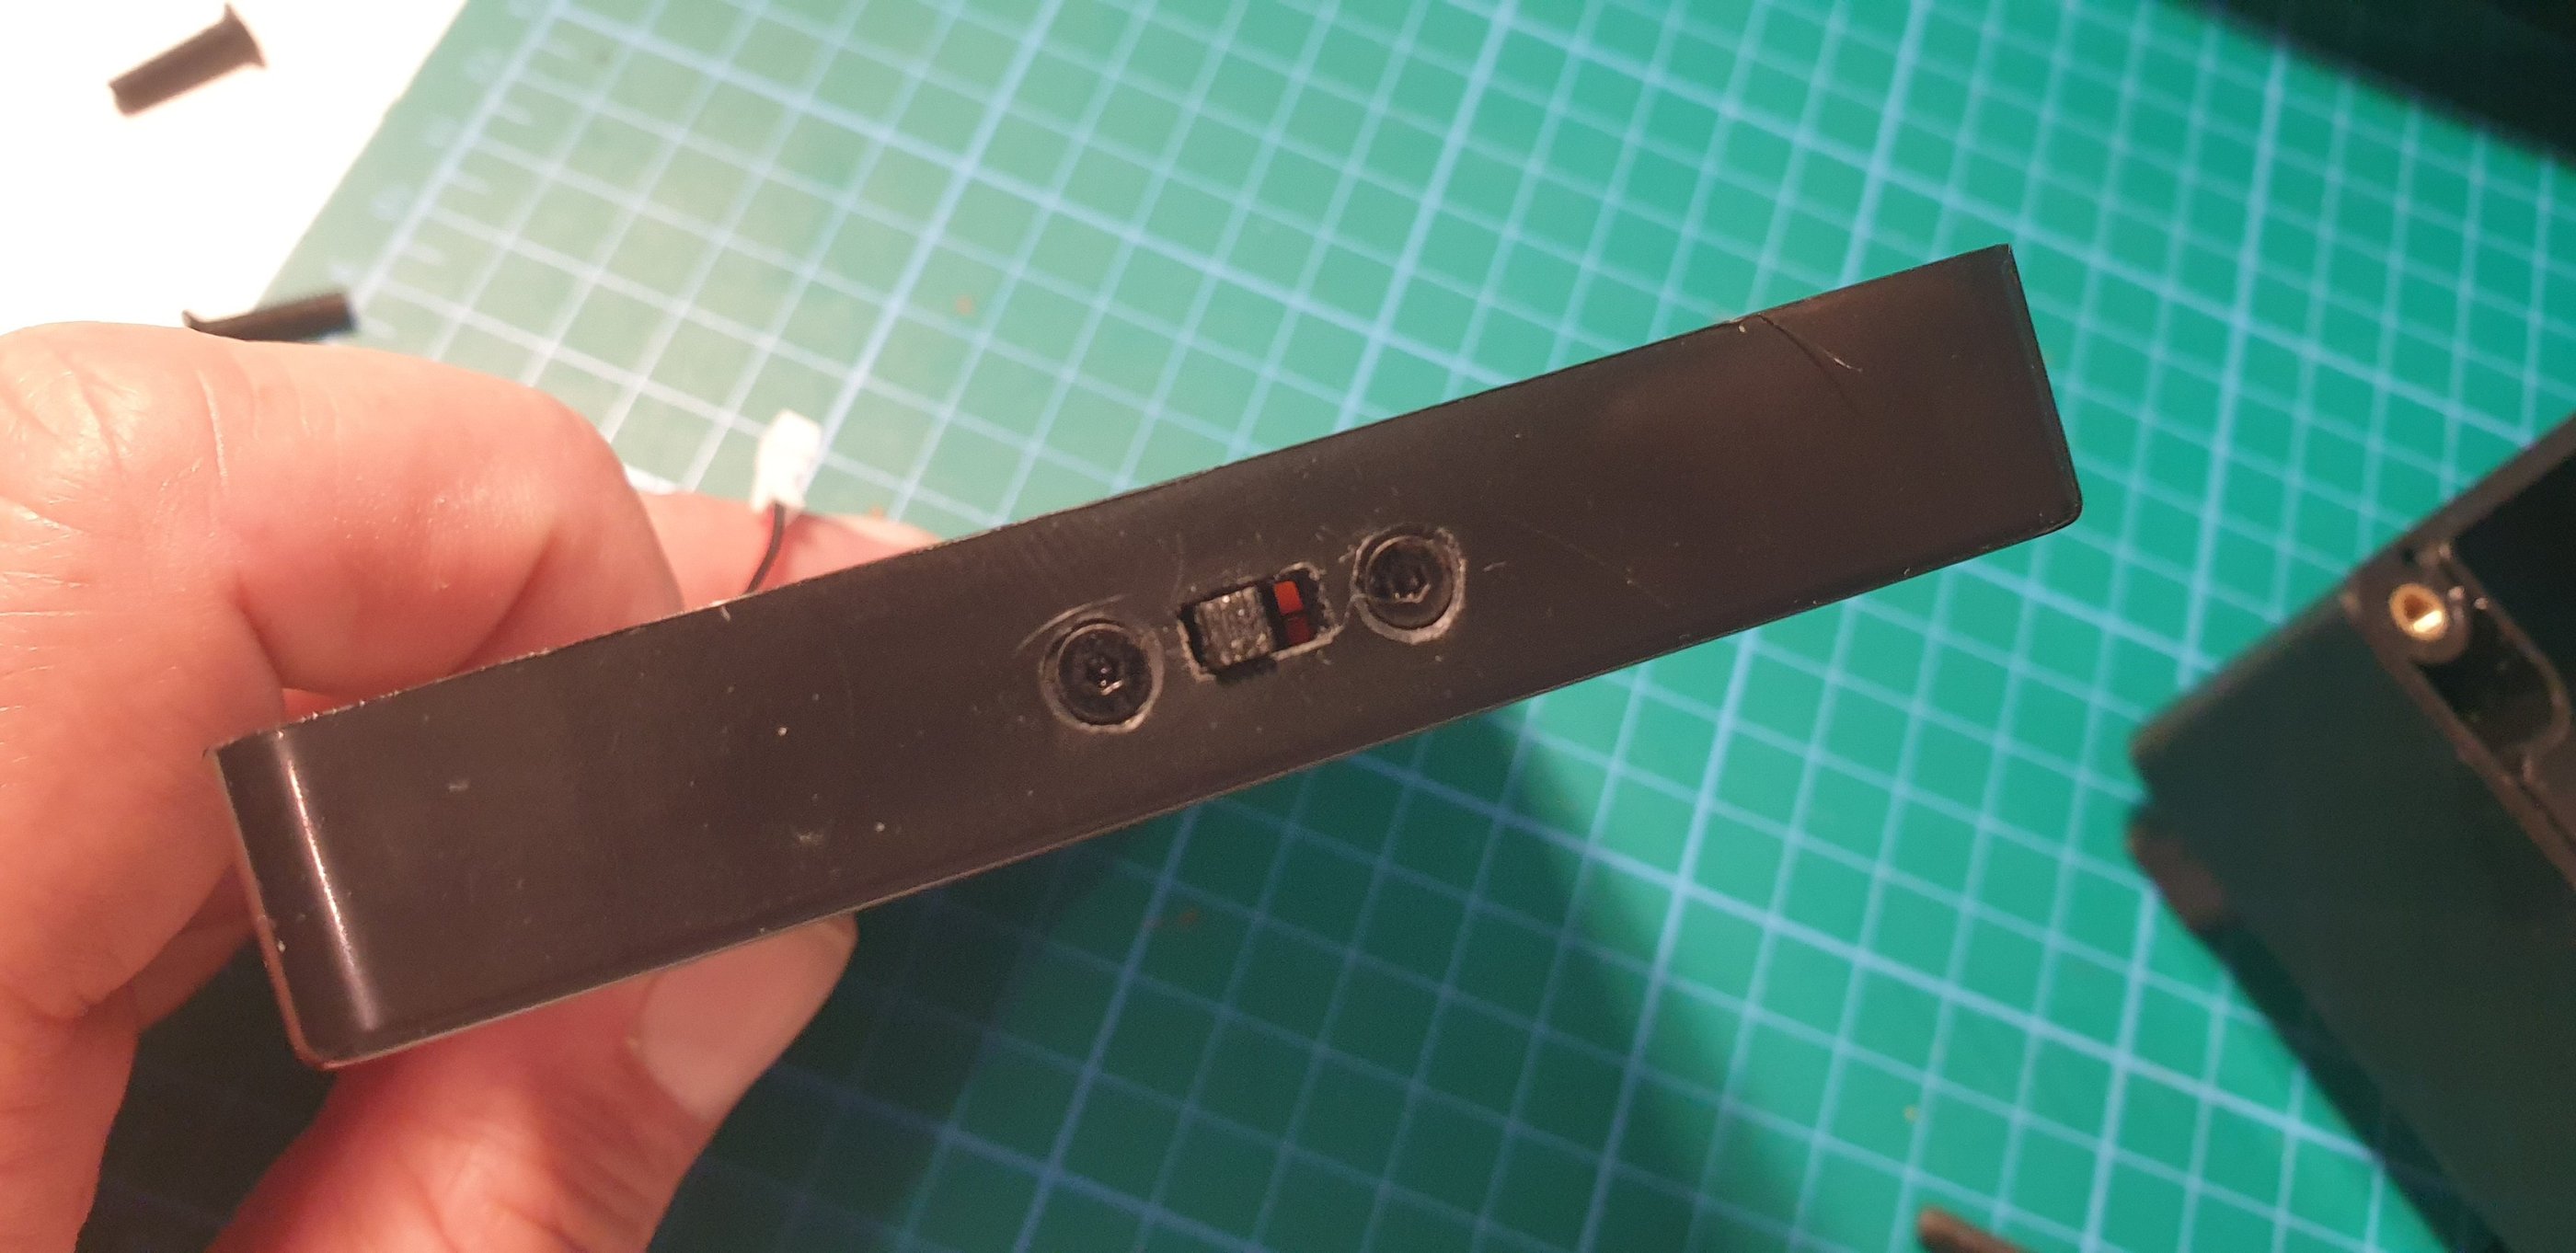
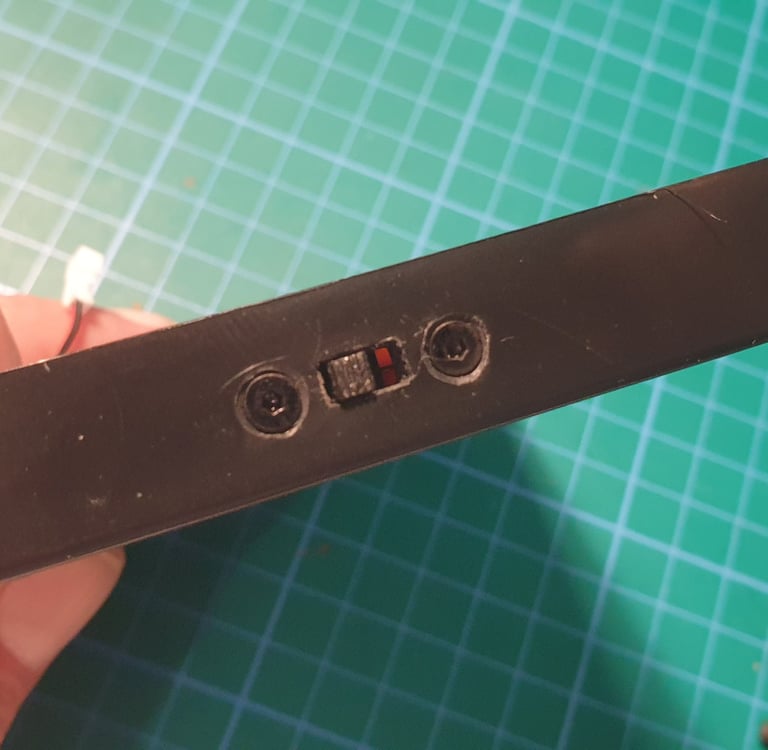
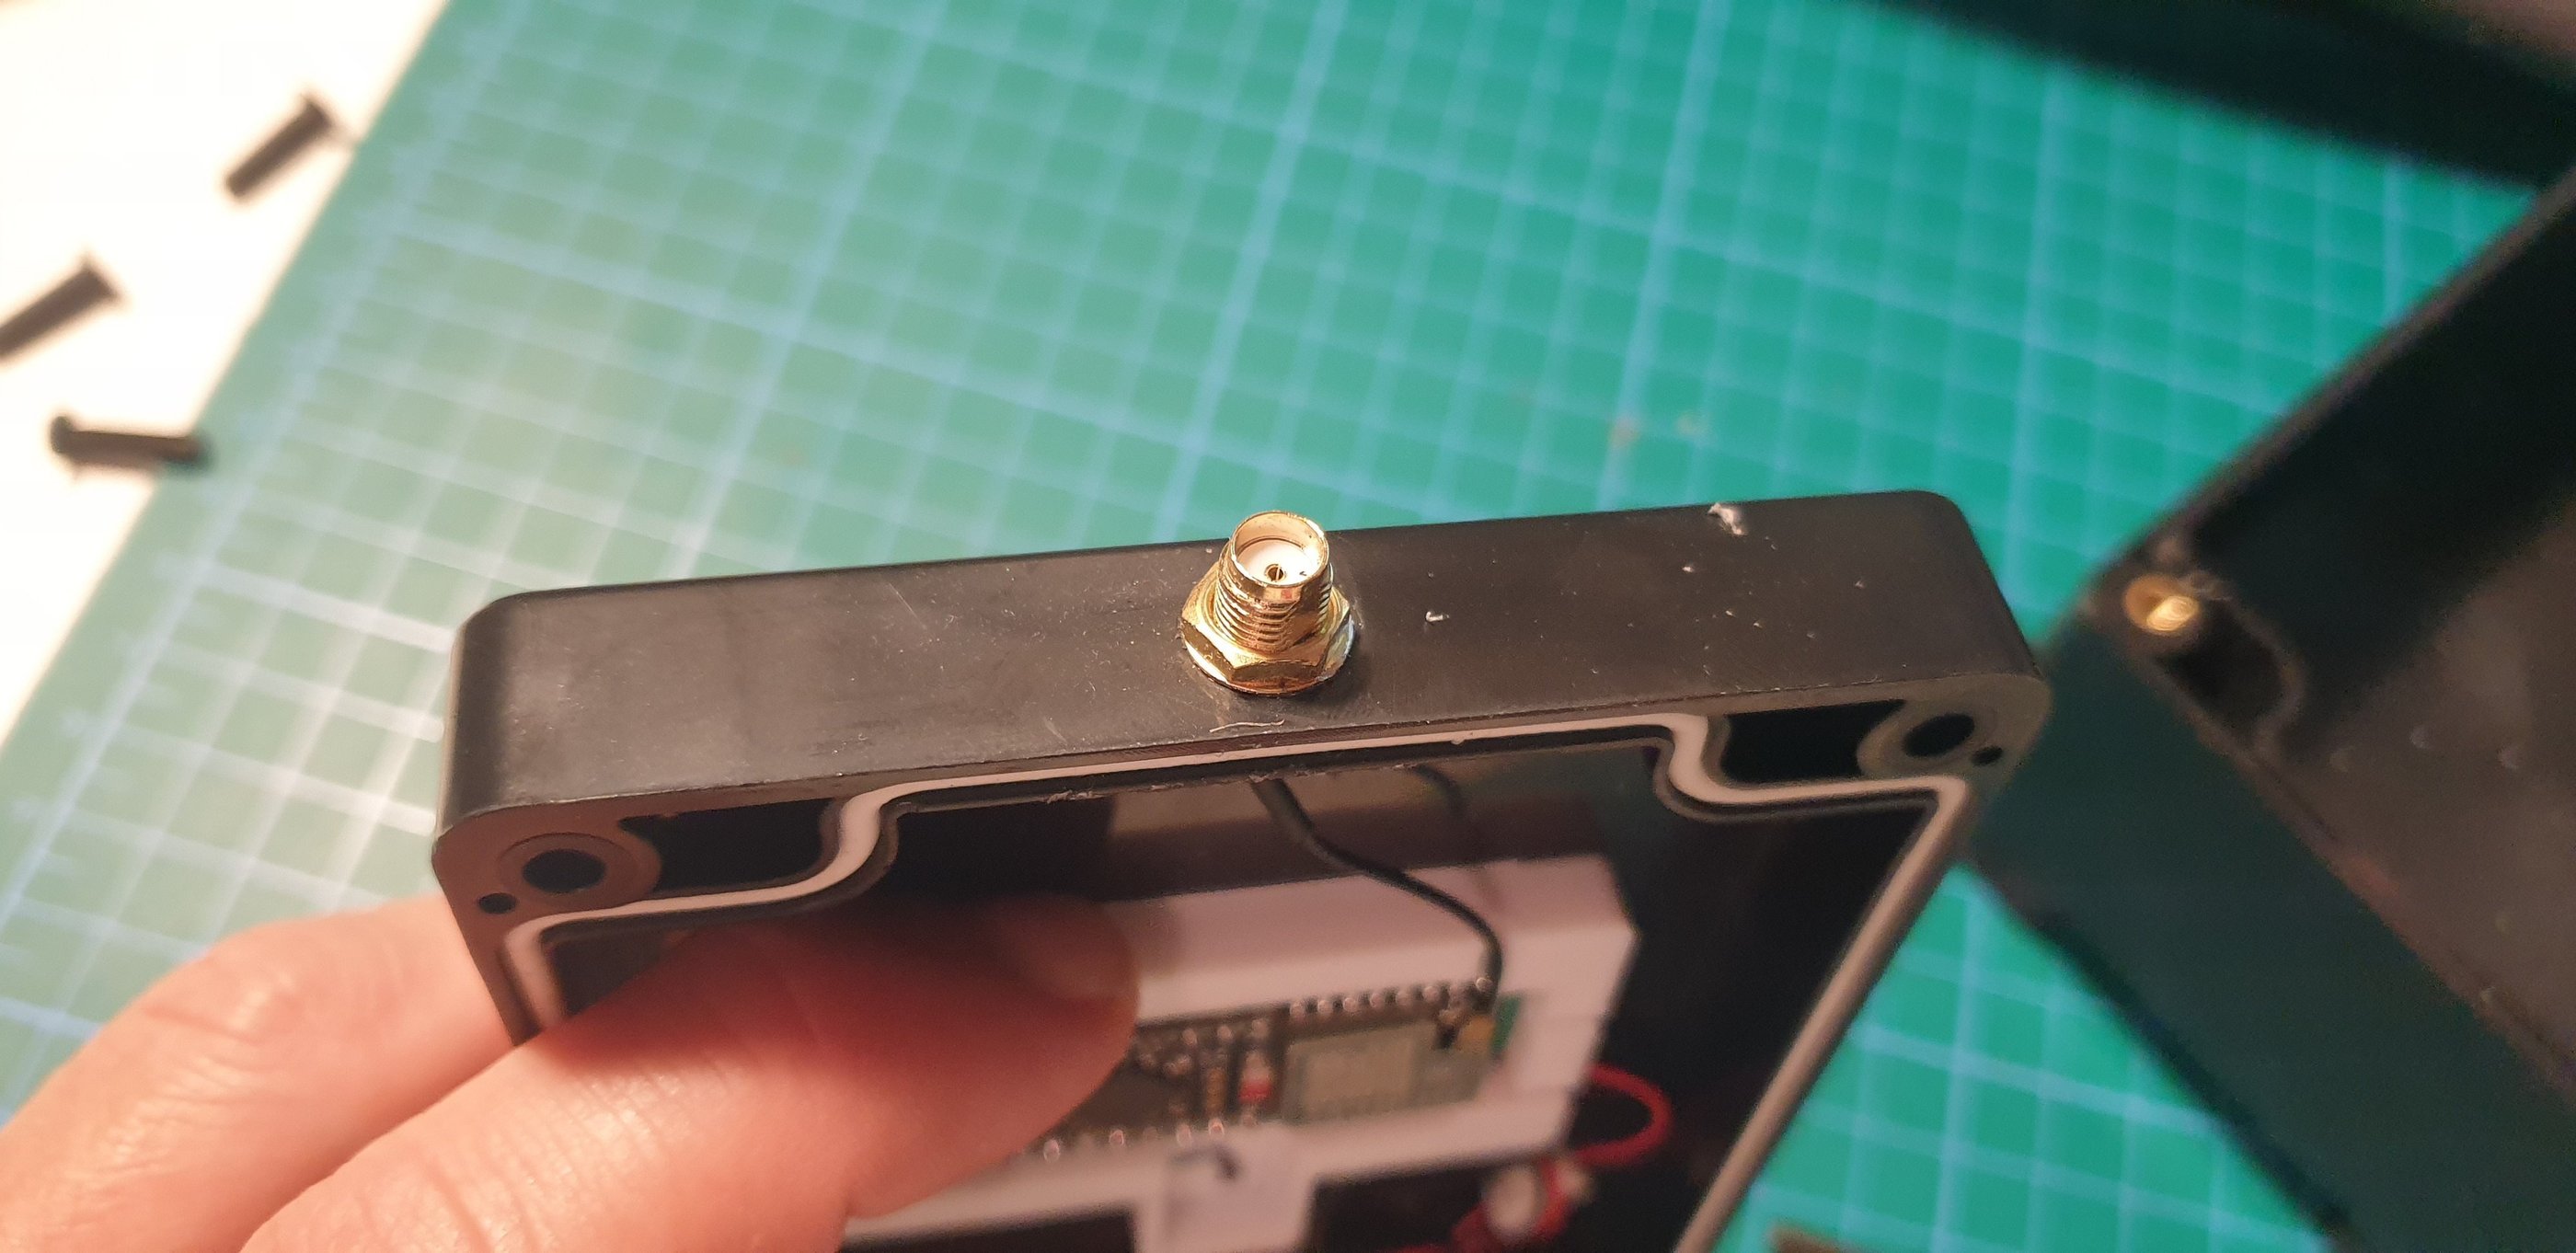
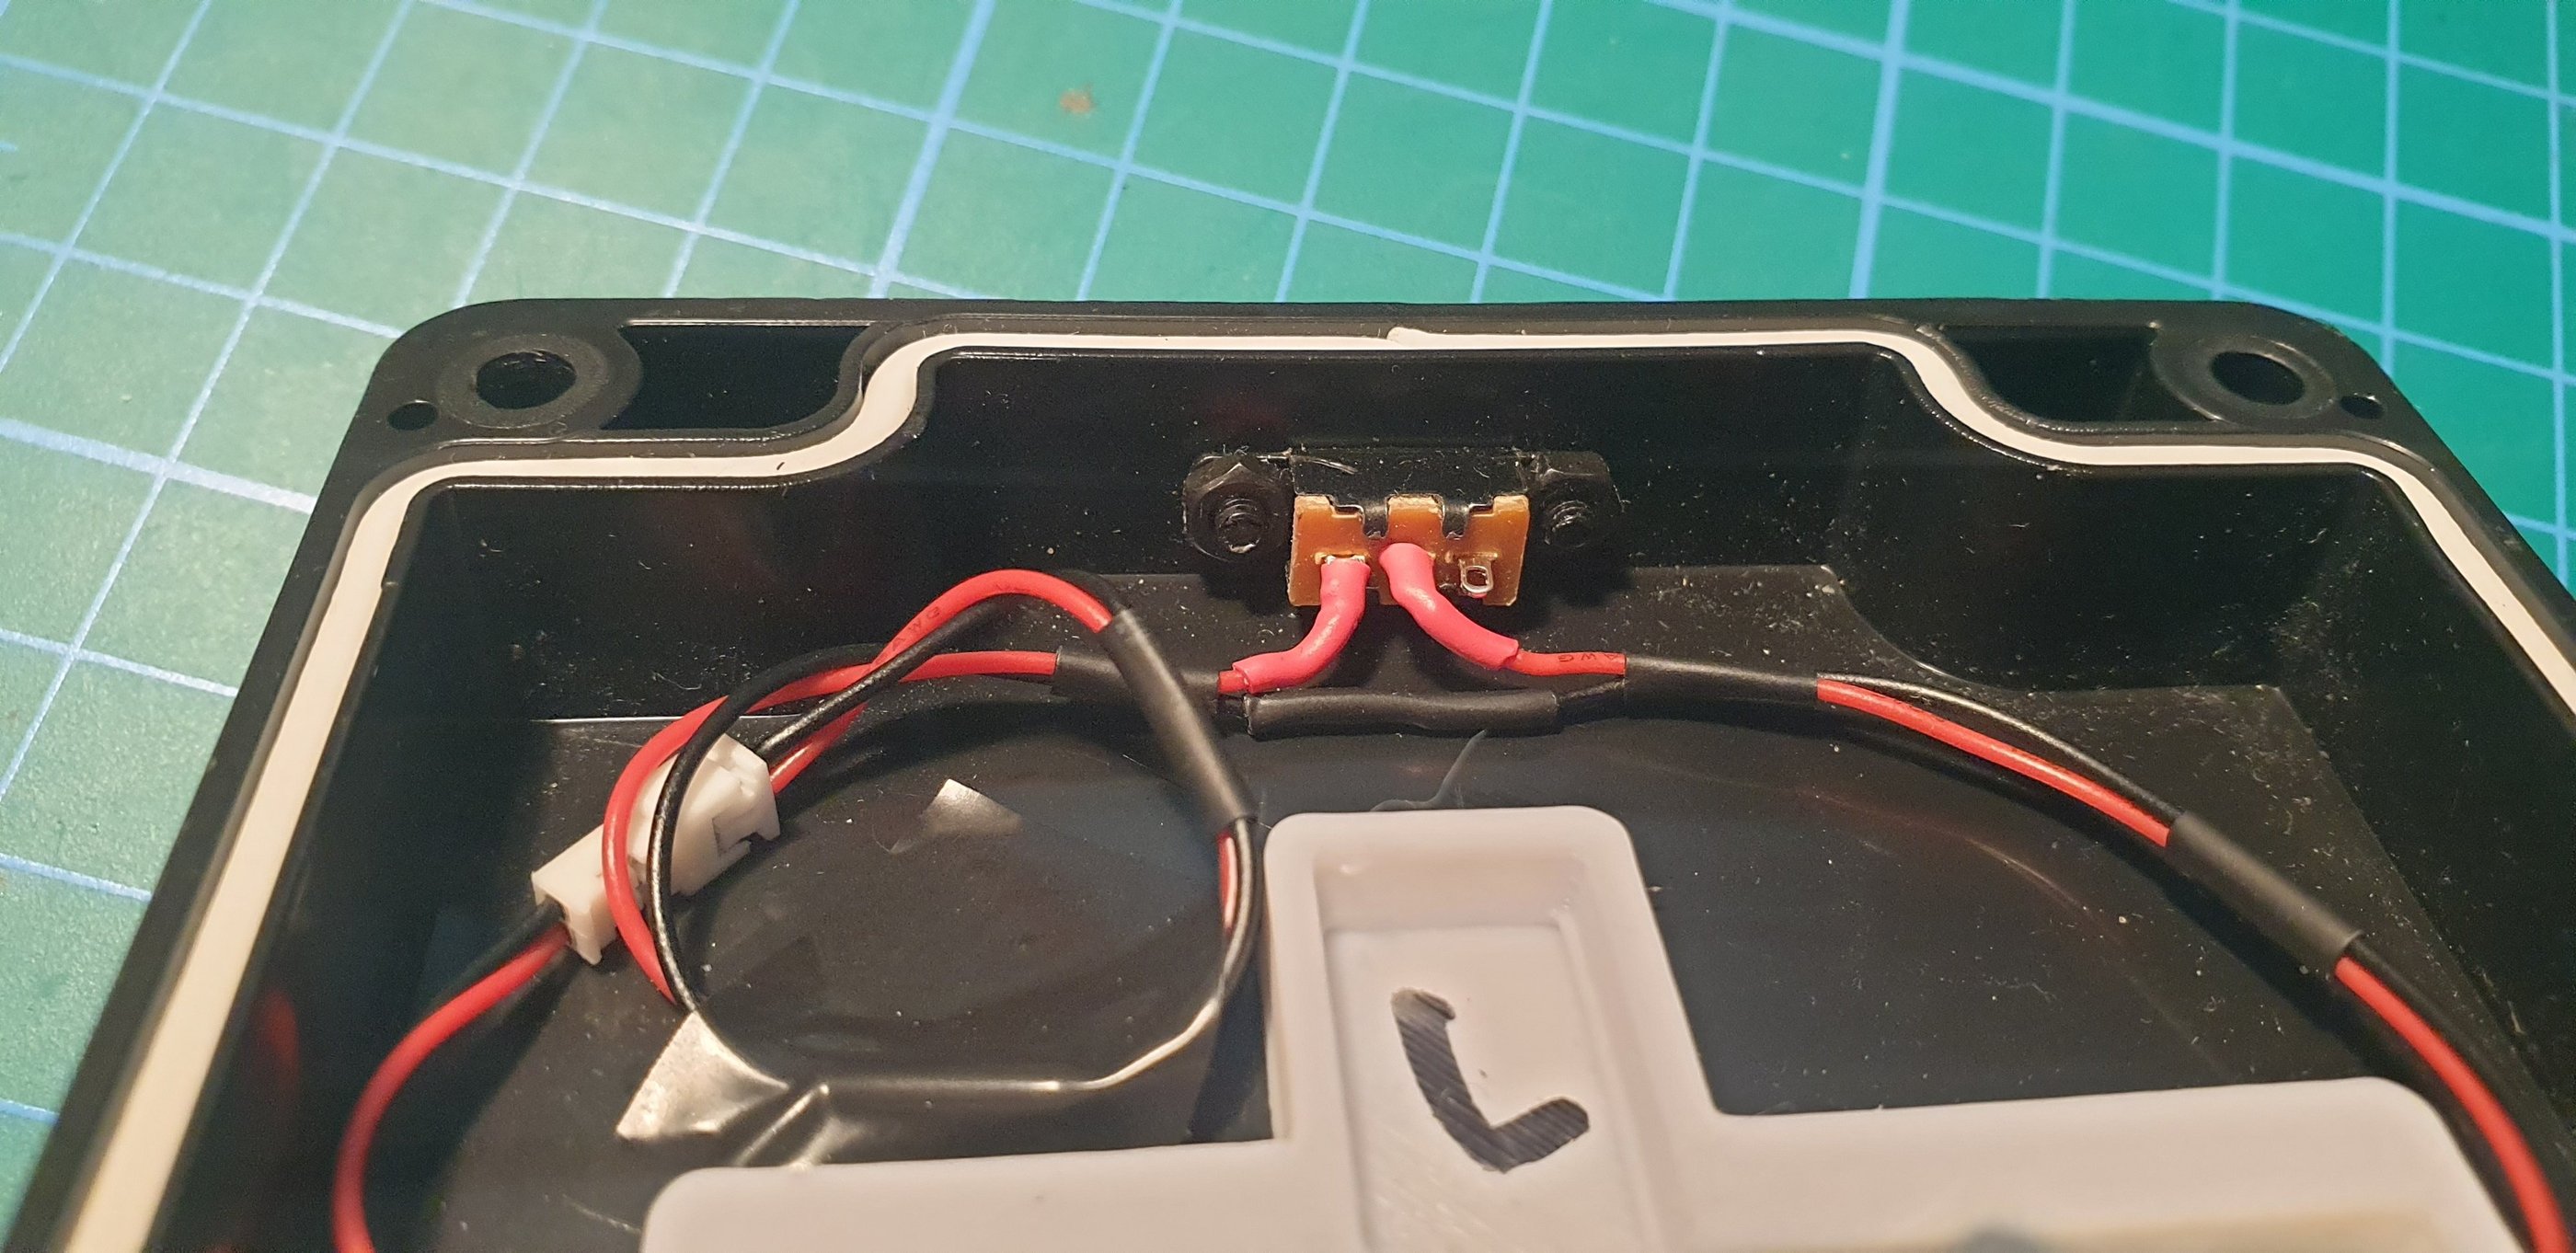
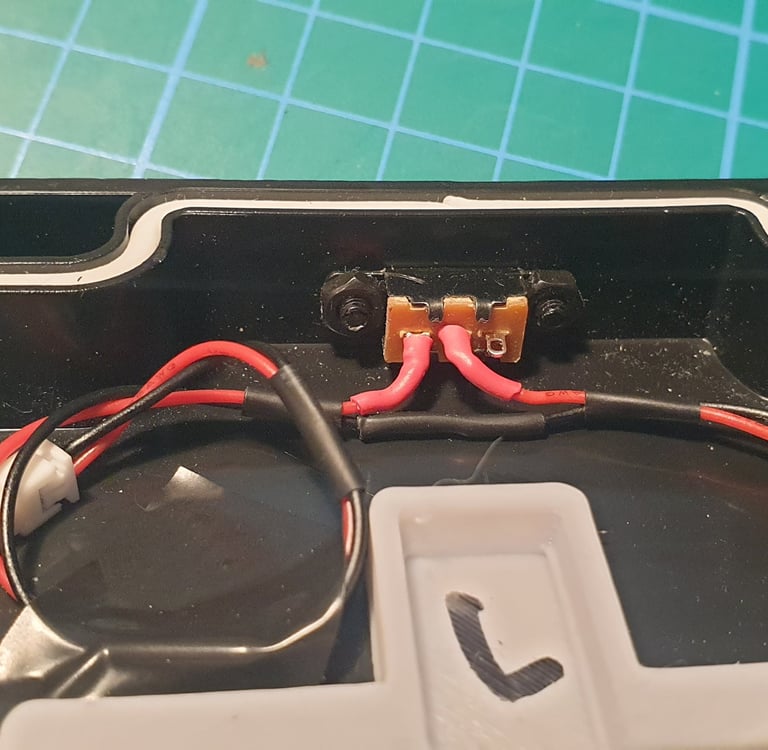
You’ll need to drill a few holes in the lid: one in the upper part to mount the SMA connector, and one in the lower part where I install the on/off switch. It may not be the most convenient location, but it’s an opening that won’t be fully sealed, however, water rarely flows upward. Unfortunately, there aren’t many small waterproof switches available.
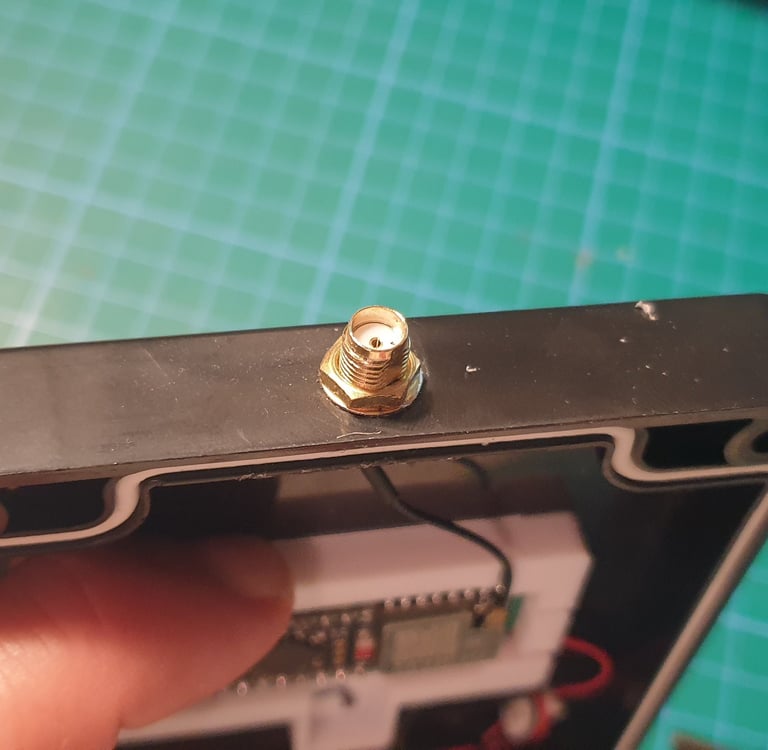
The SMA mounting area will require some grinding with a Dremel and sealing with silicone.
I usually drill the holes first with a small drill bit, then enlarge them with a file to the required size.
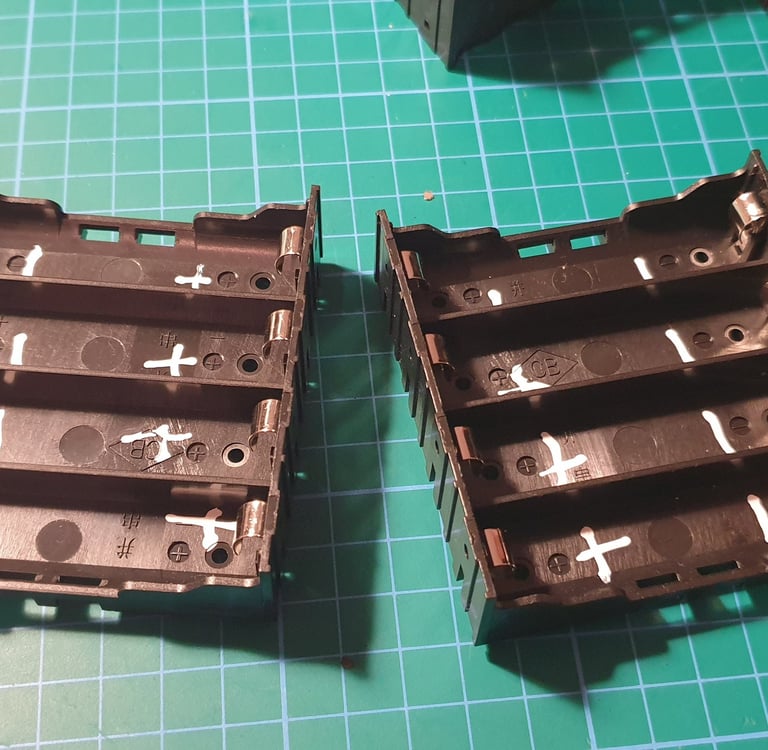
Once the enclosure is ready, it’s time to build the battery pack. We start by assembling the two holders. back to back. Pay attention to the polarity markings. I also label them with something clearly visible to reduce the risk of mistakes when inserting the cells


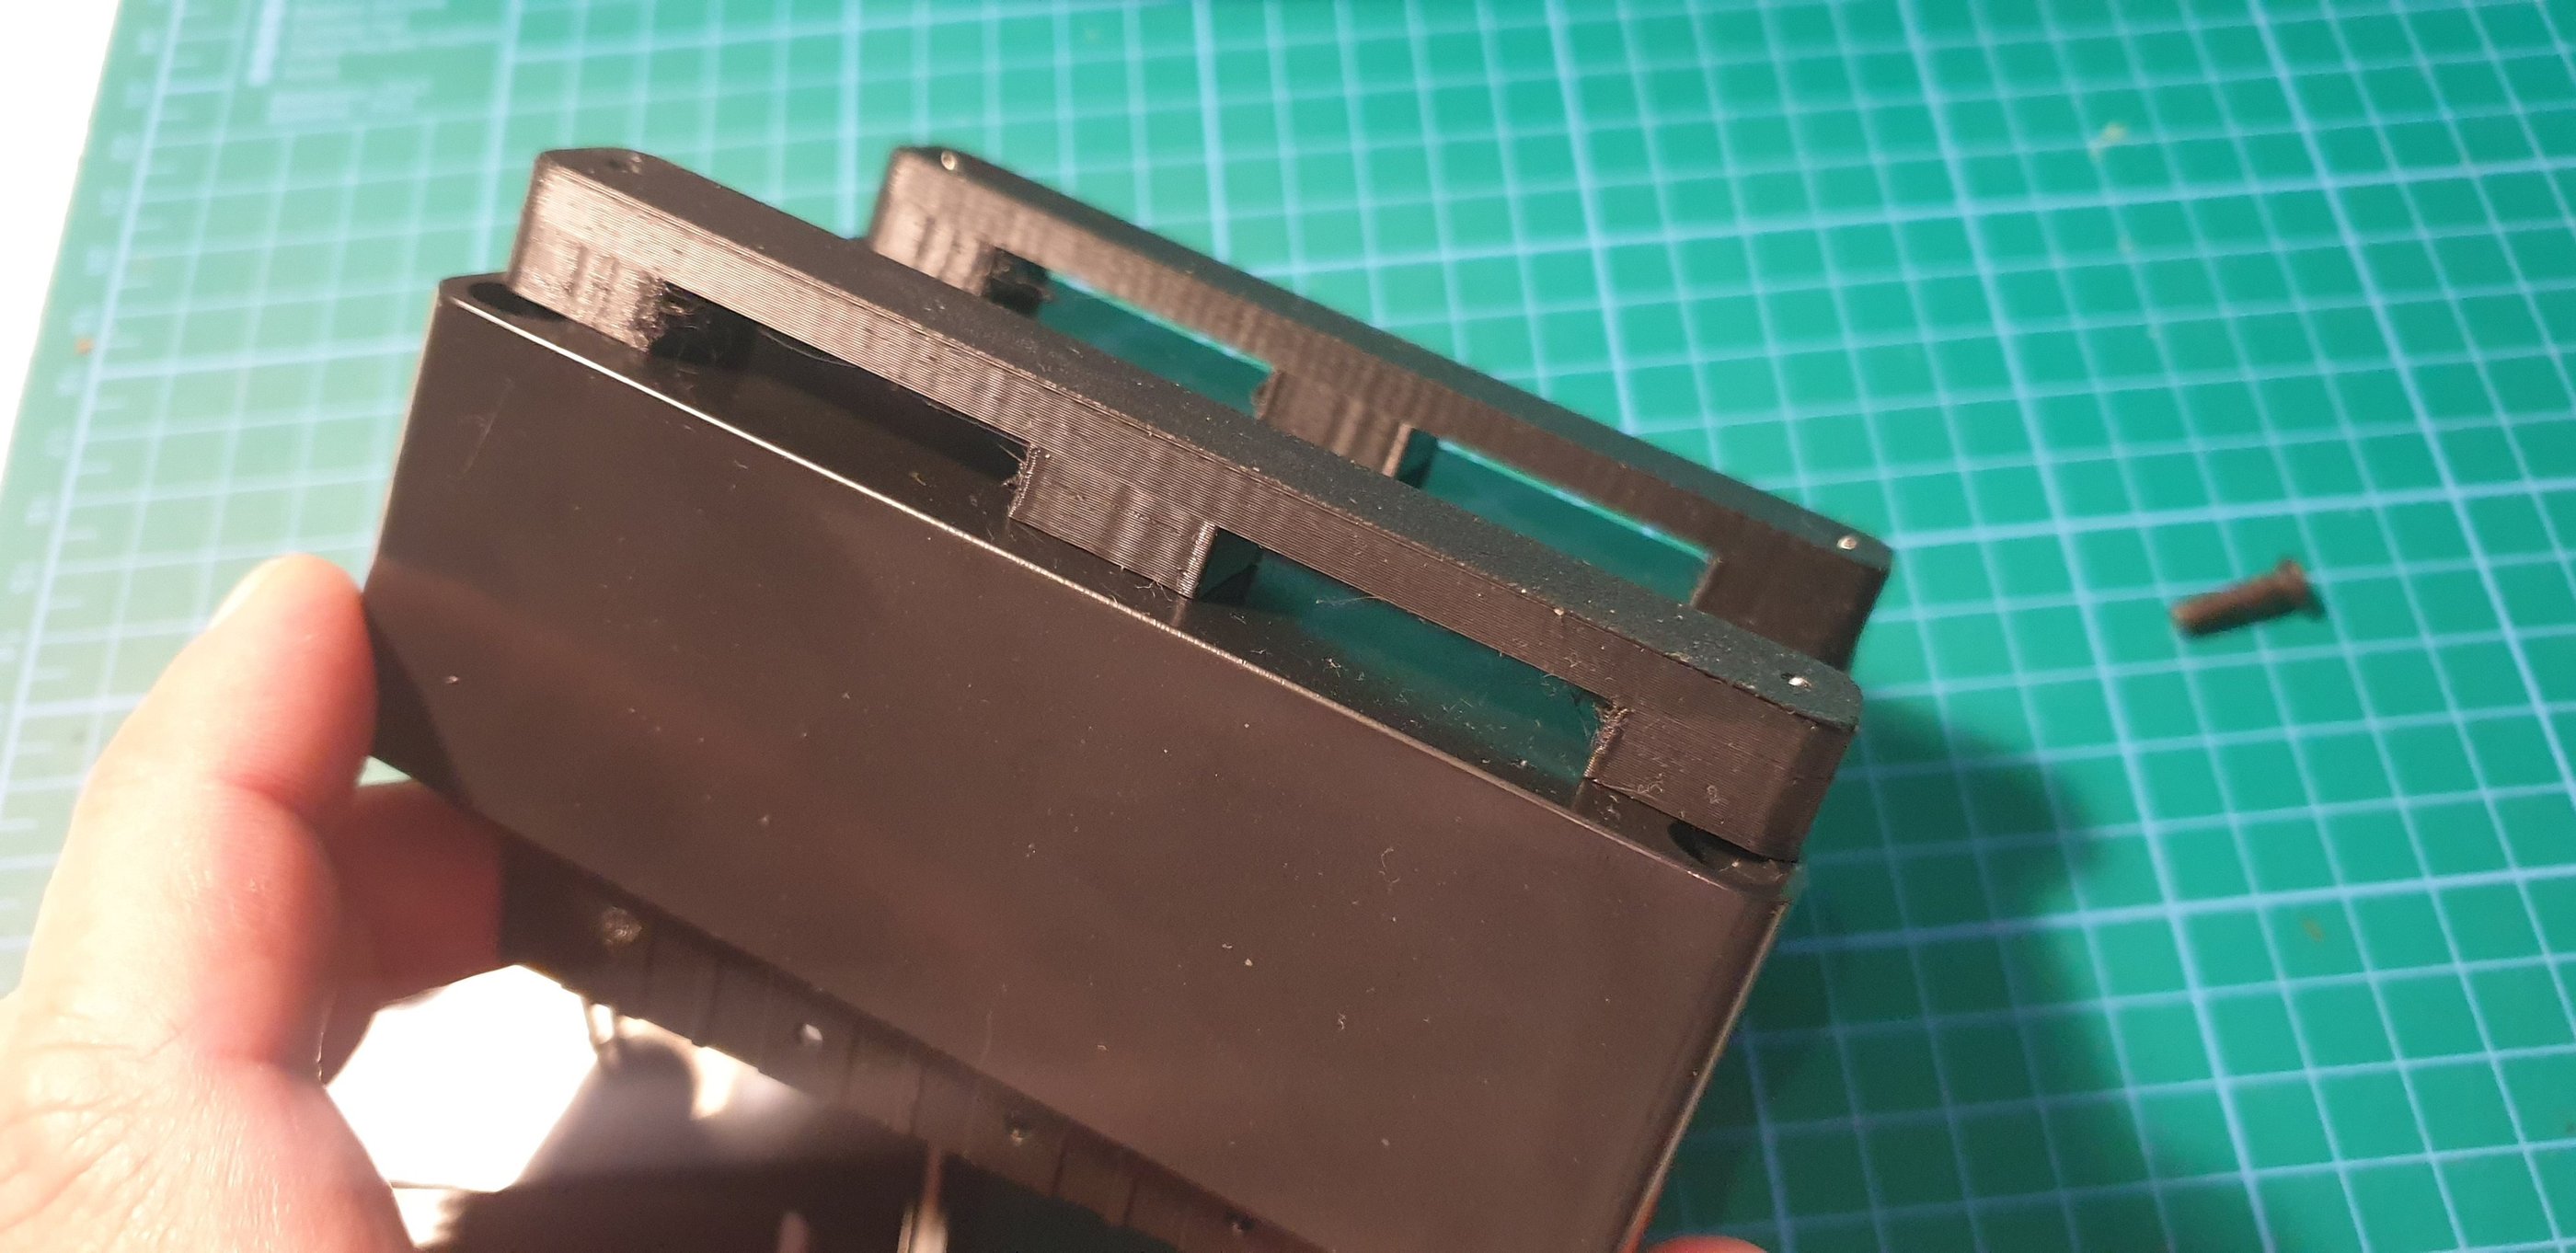
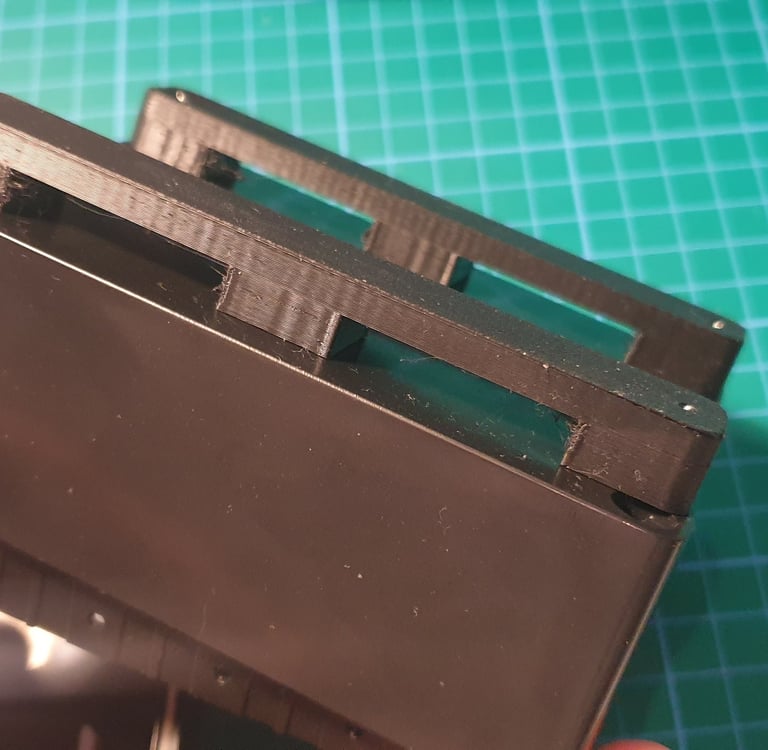

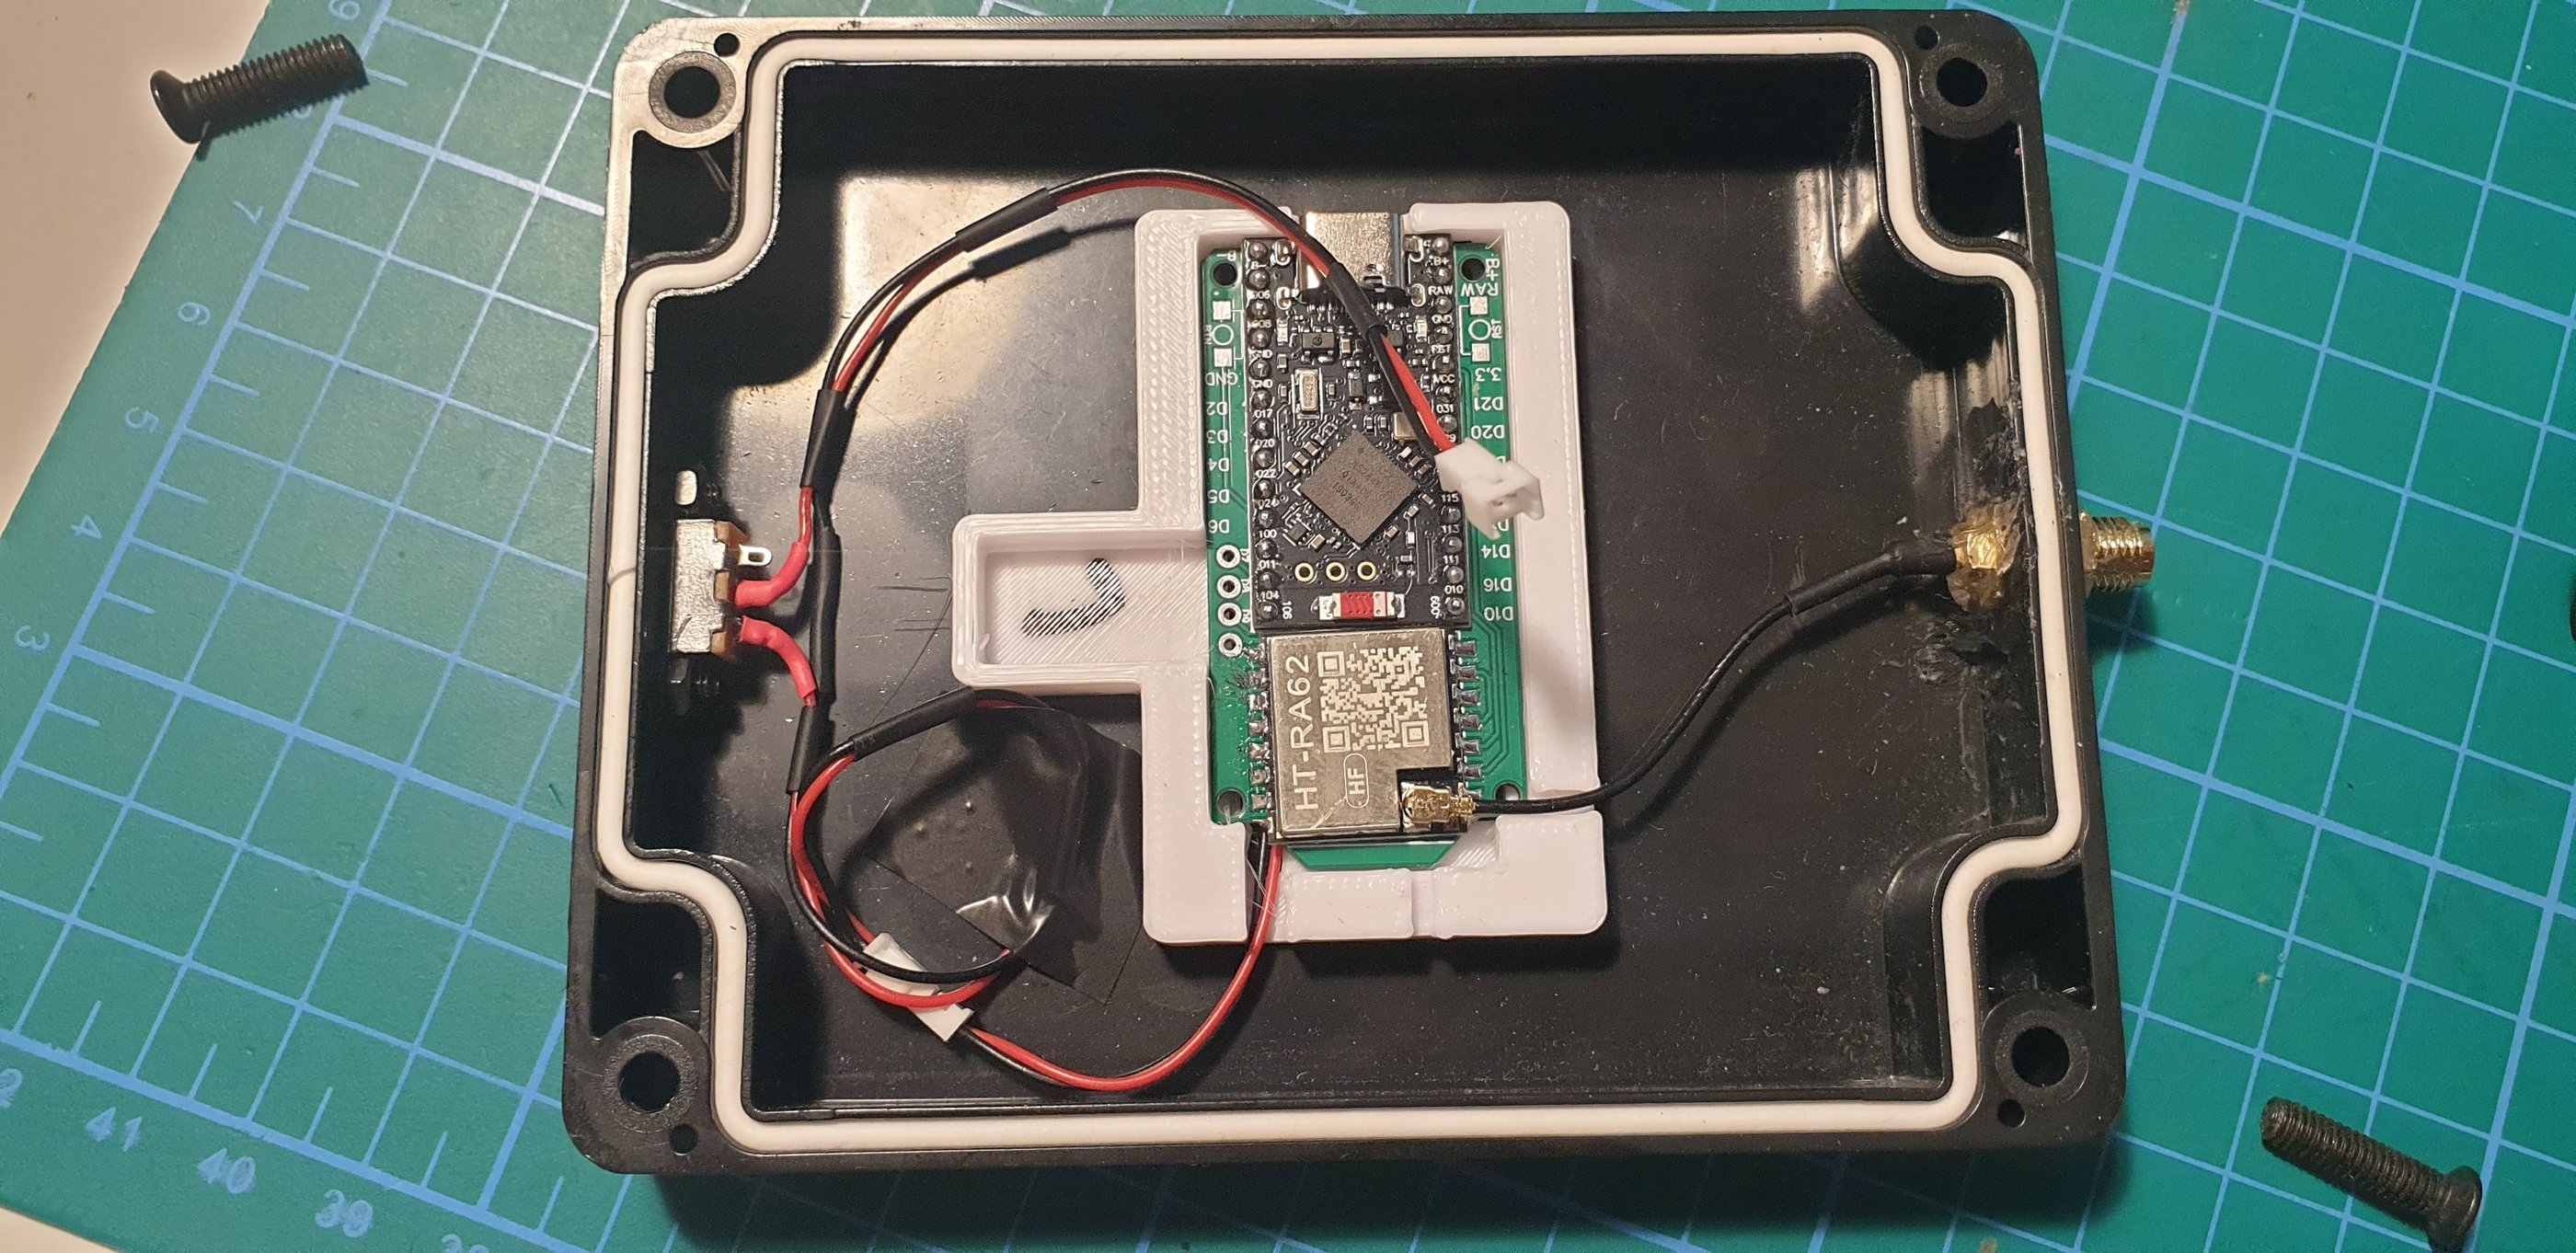
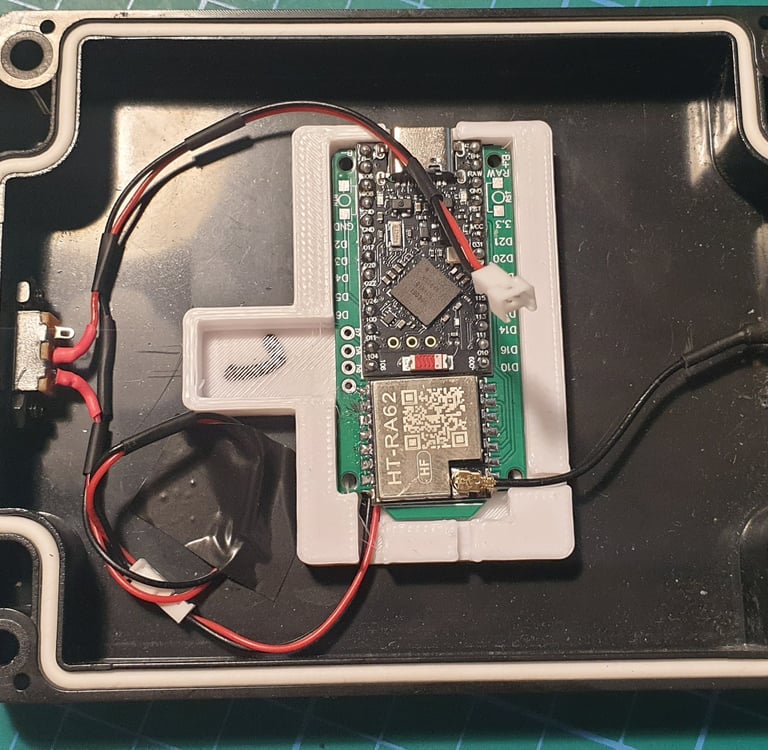
The components are installed. The 3D part is attached to the enclosure using double-sided tape.
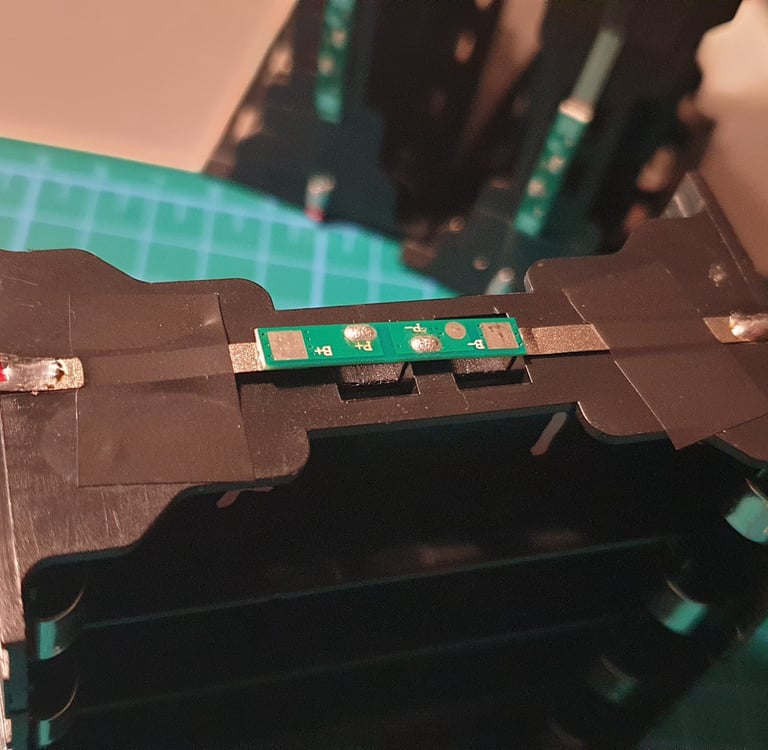
The board and wires are additionally secured with electrical tape.
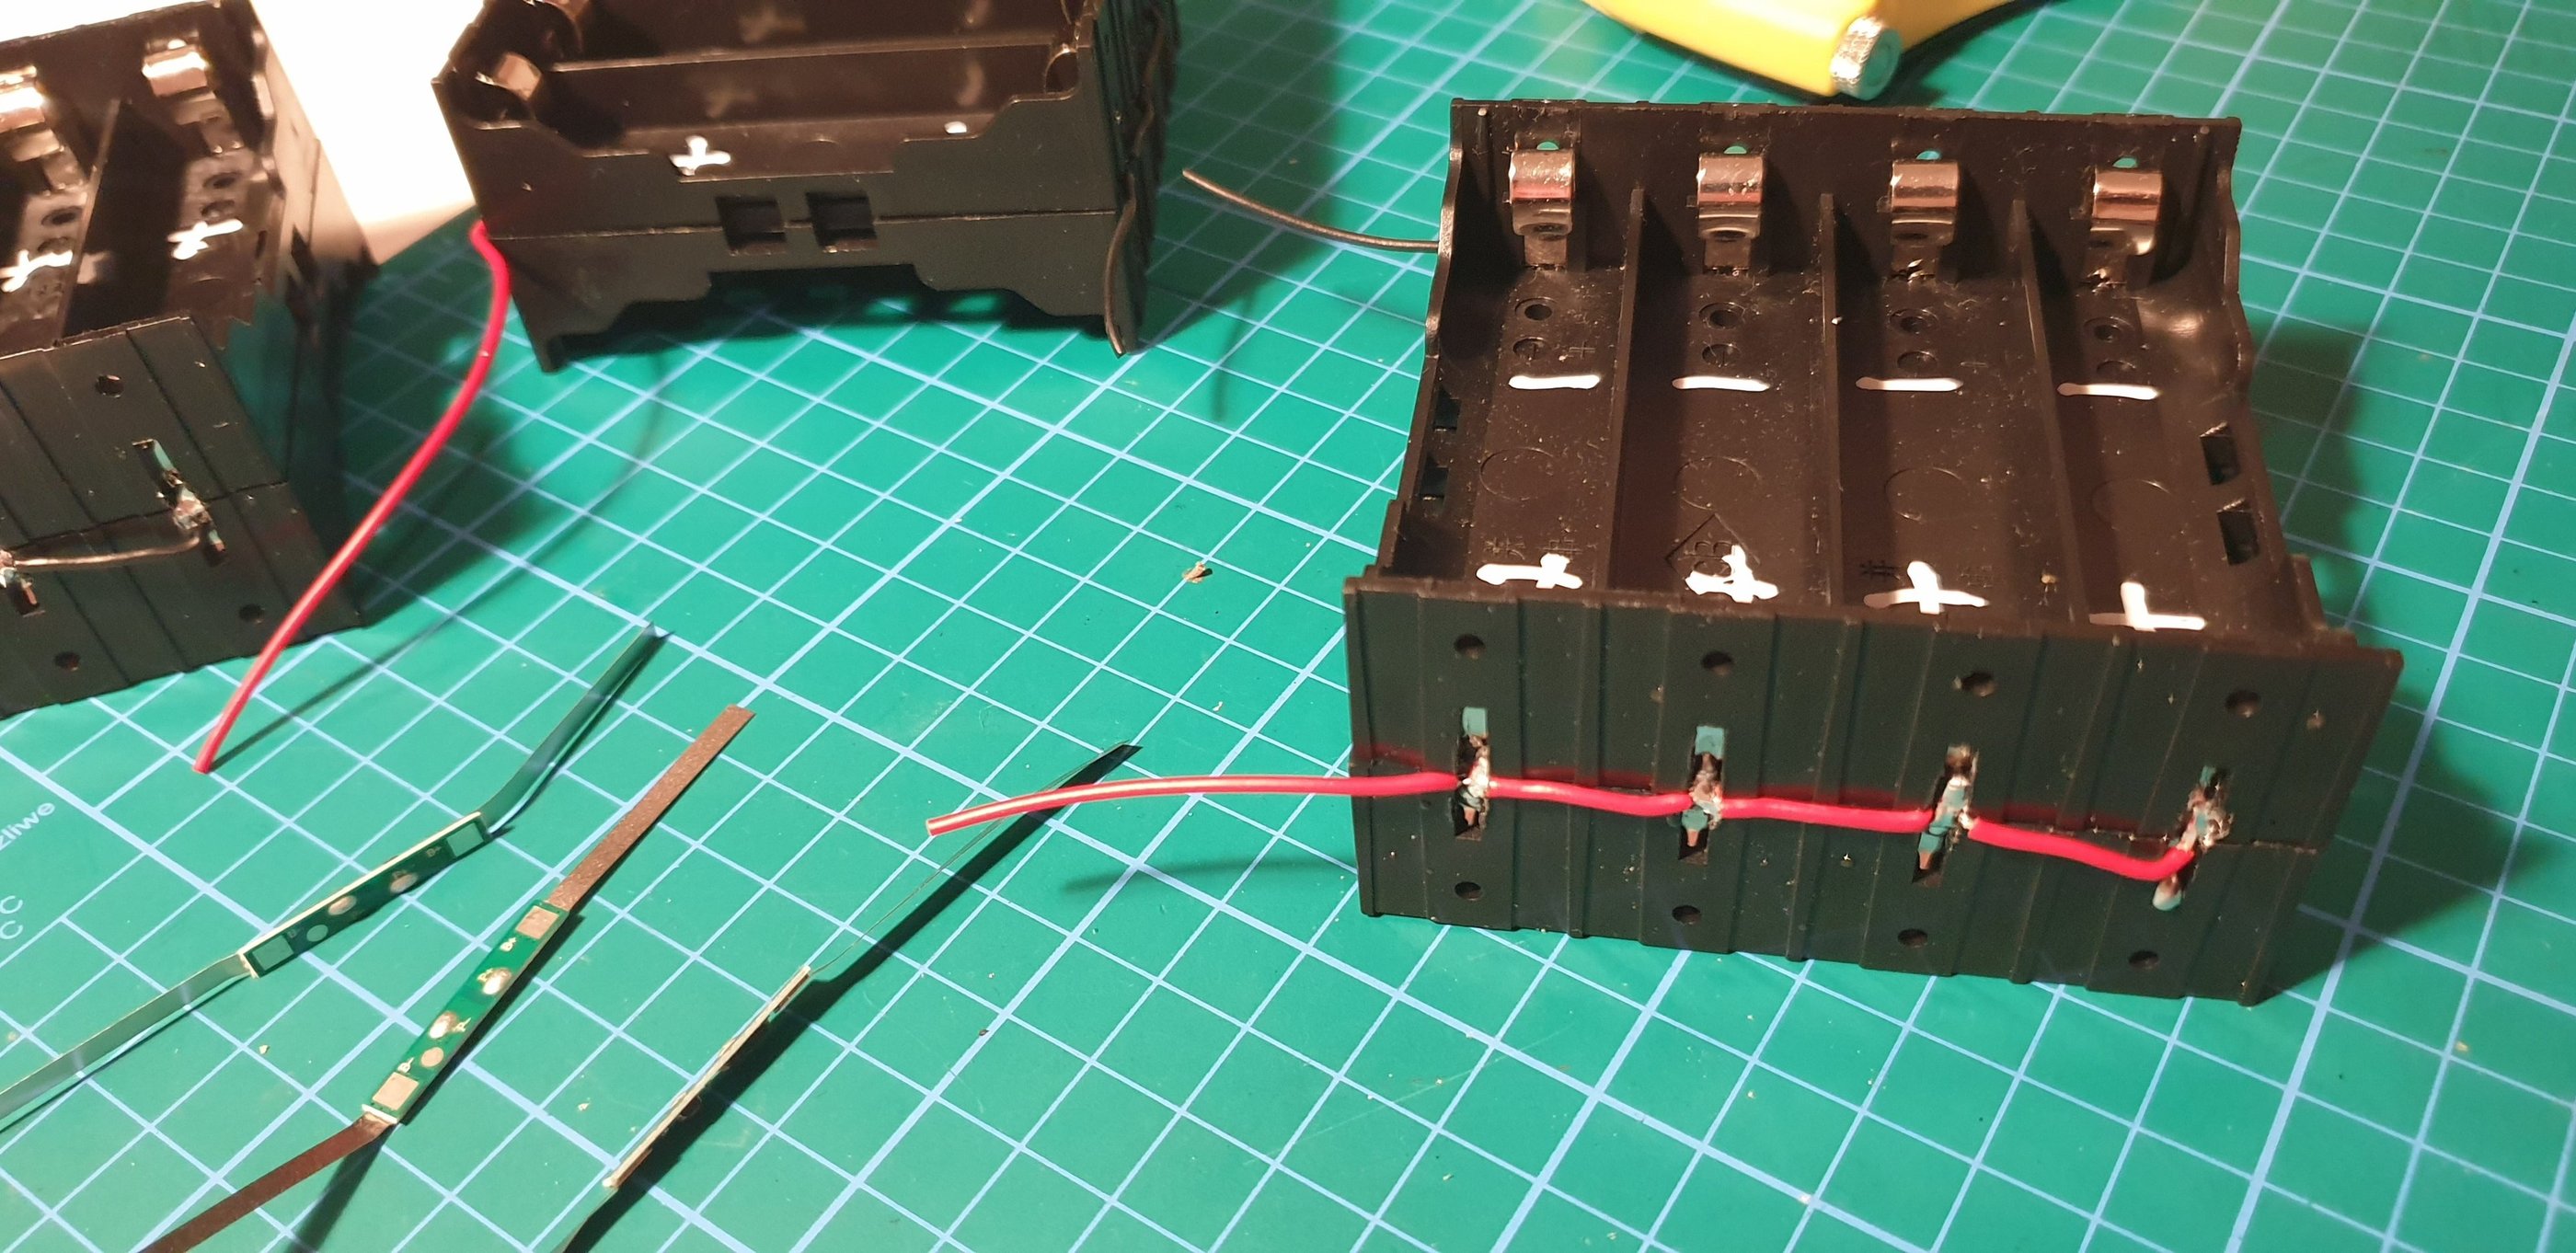
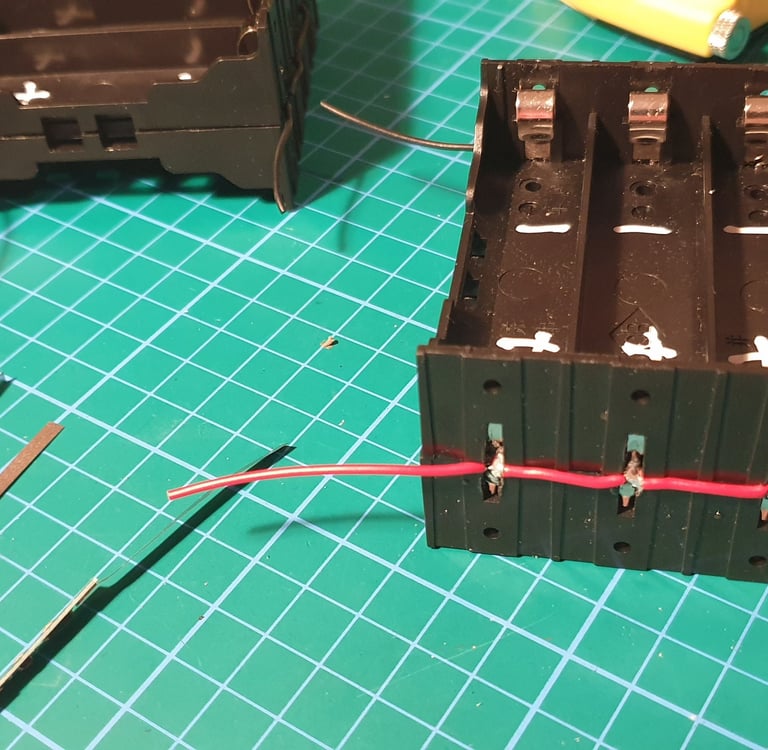
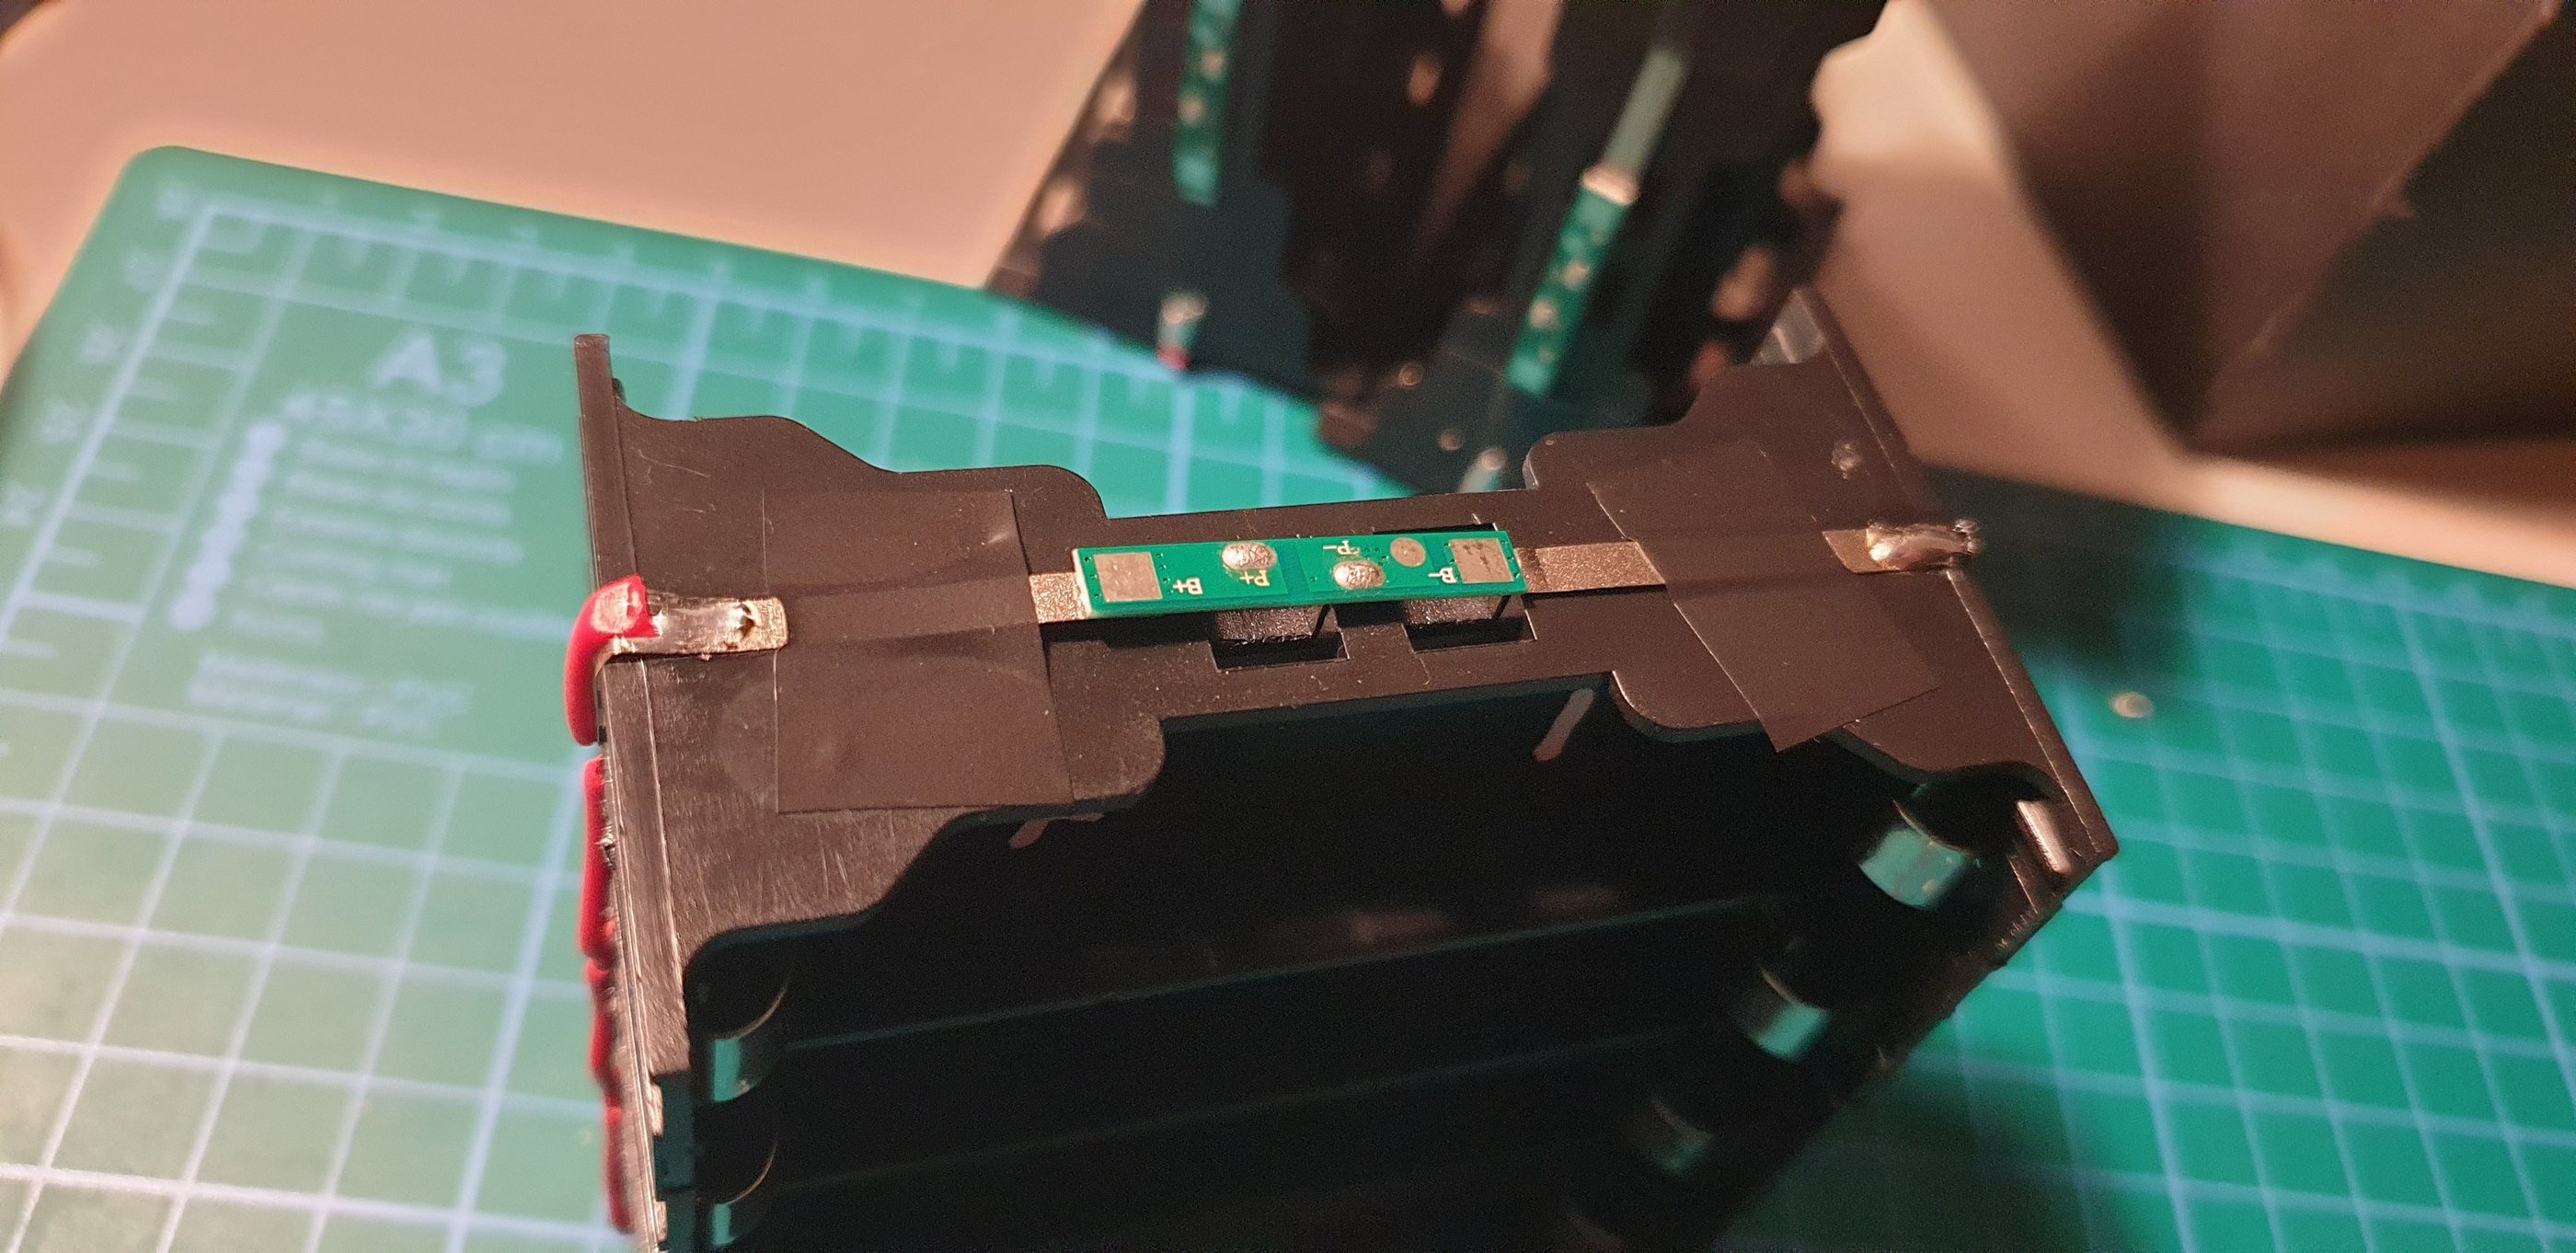
After soldering the two holders together, check all connections with a multimeter.
If everything is OK, solder the wires connecting the individual parts of the pack.
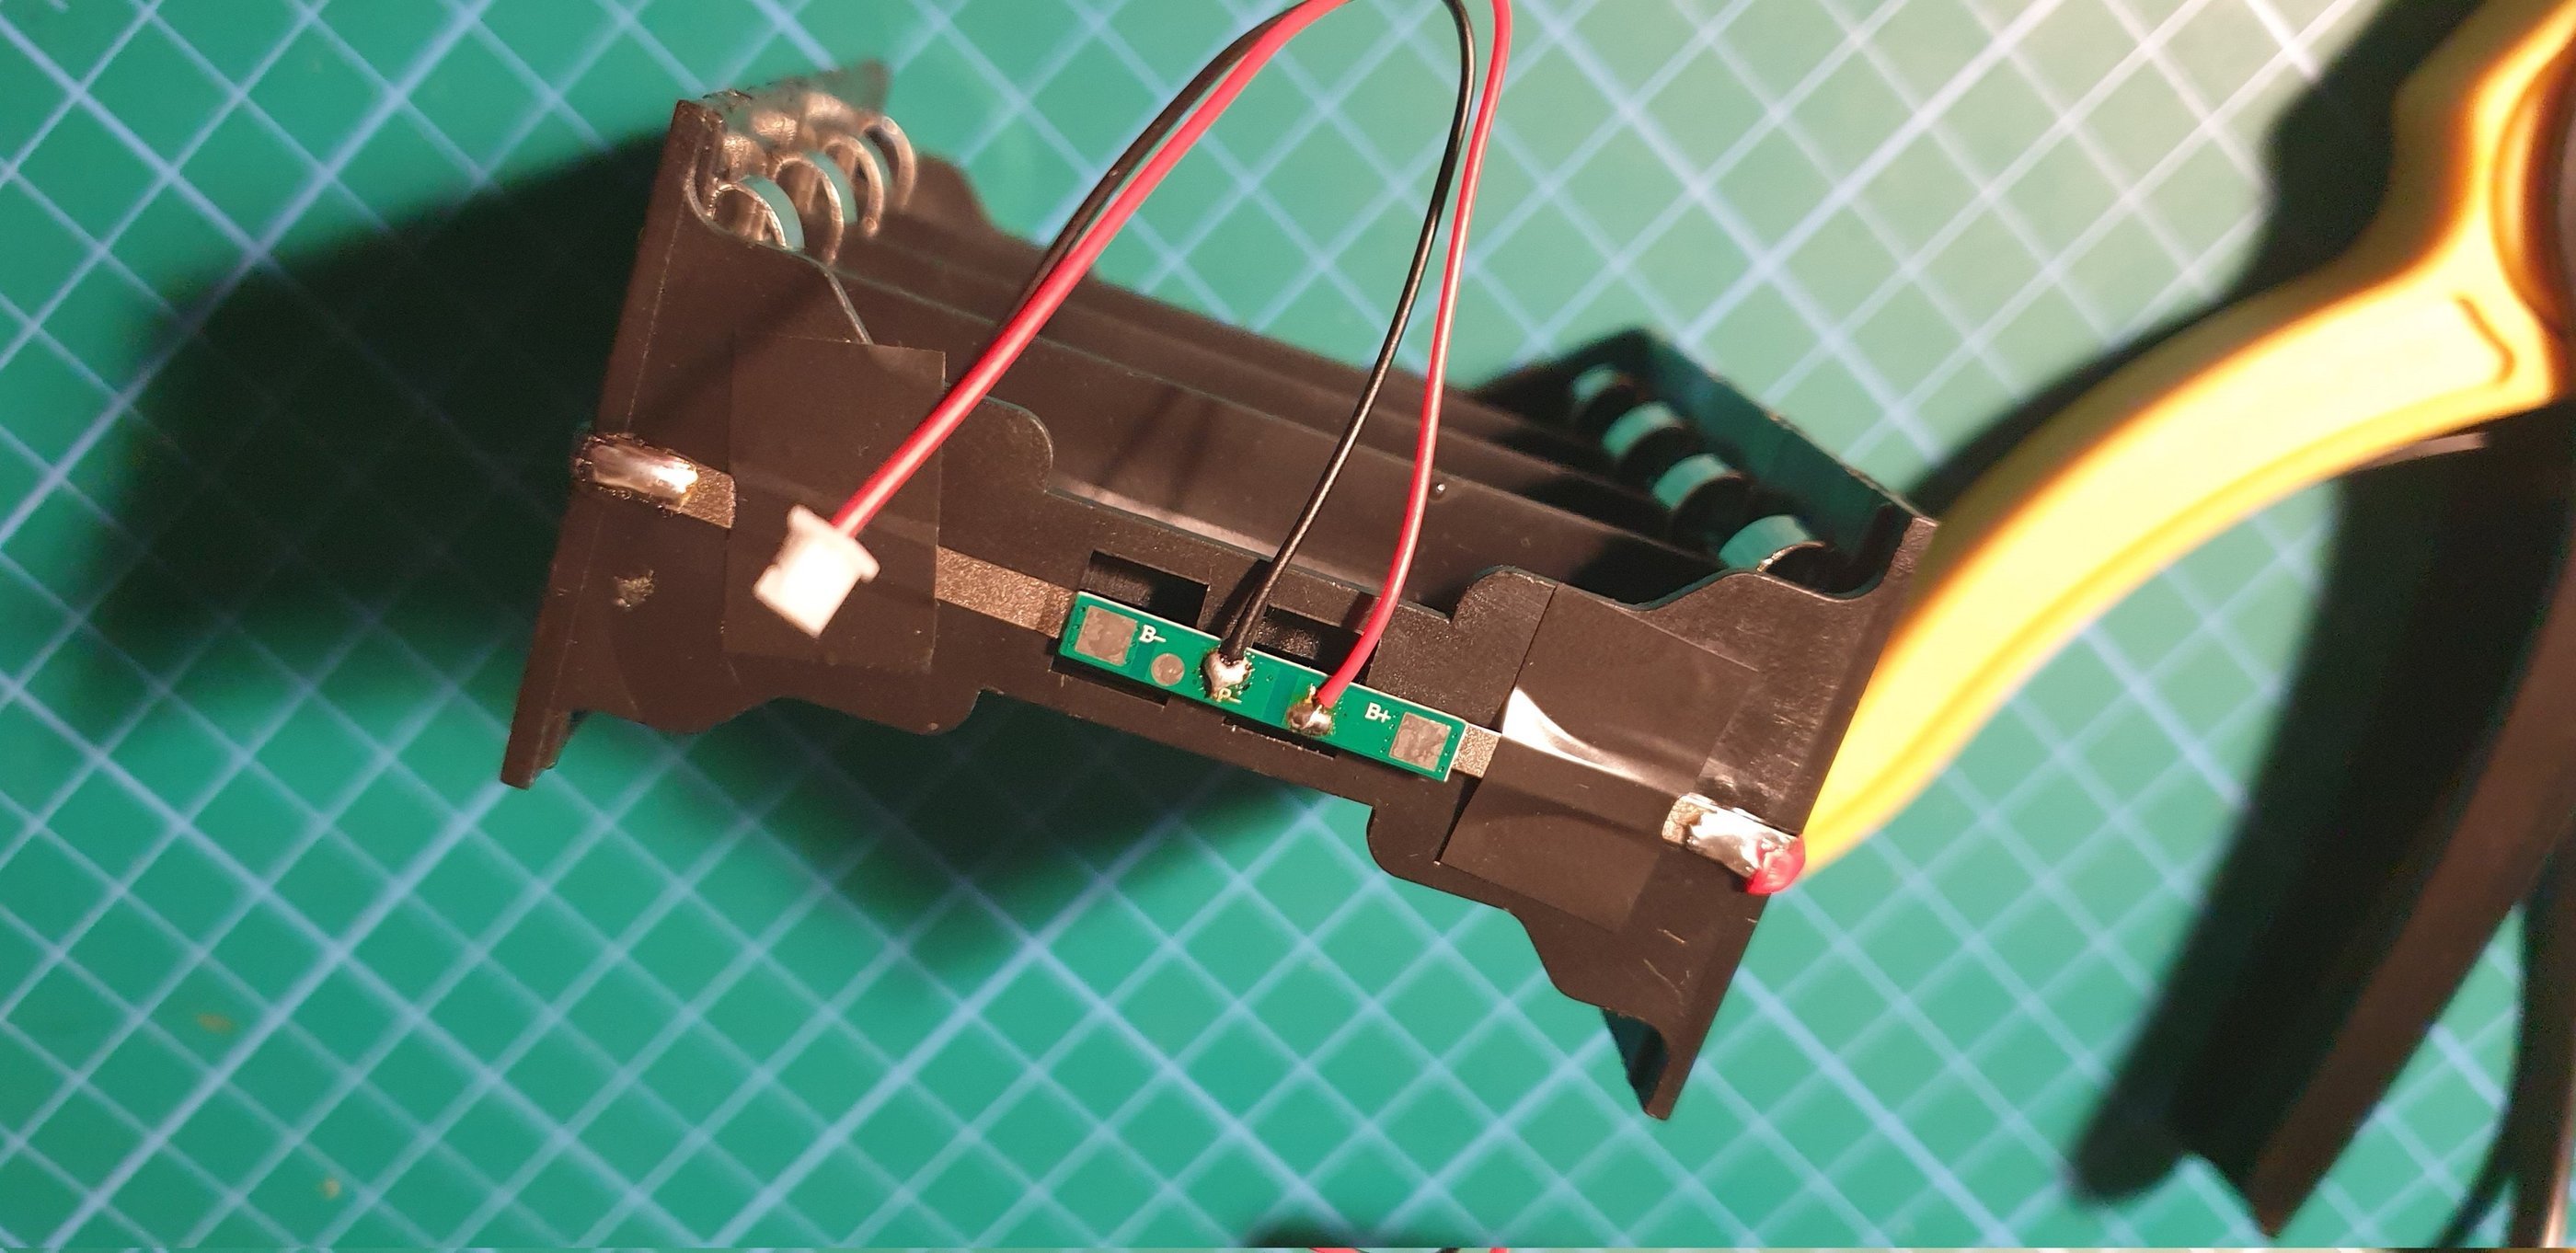
After checking once again for faulty connections and short circuits with a multimeter, you can solder the BMS.
…and the JST connector for connecting to the board.
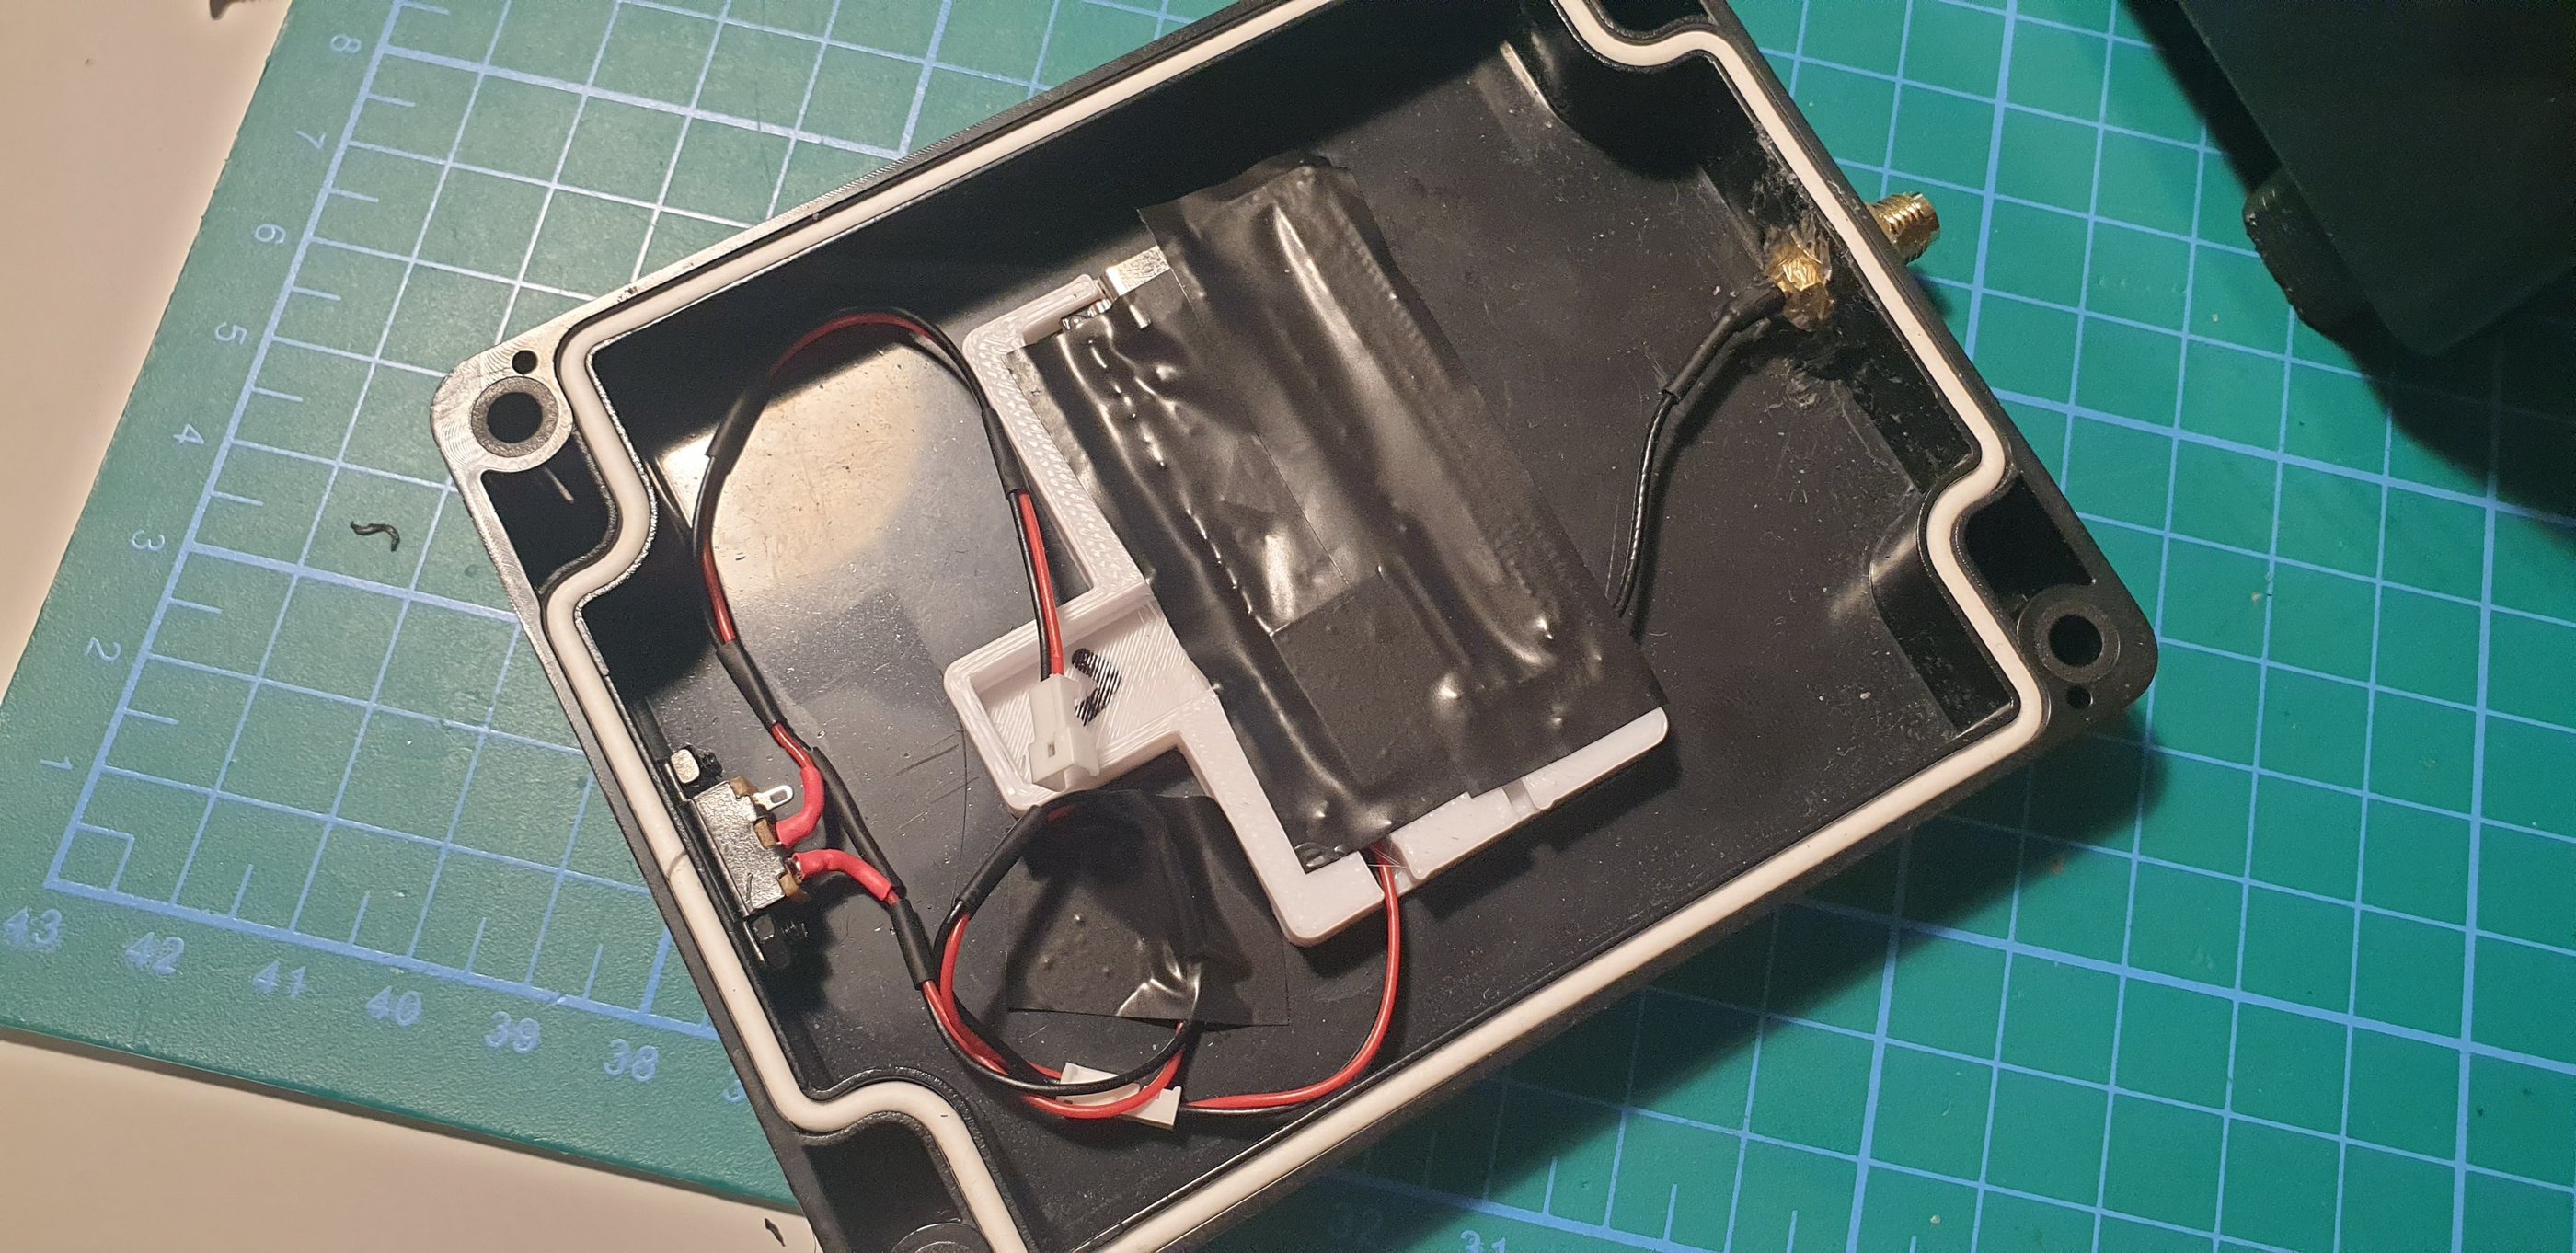
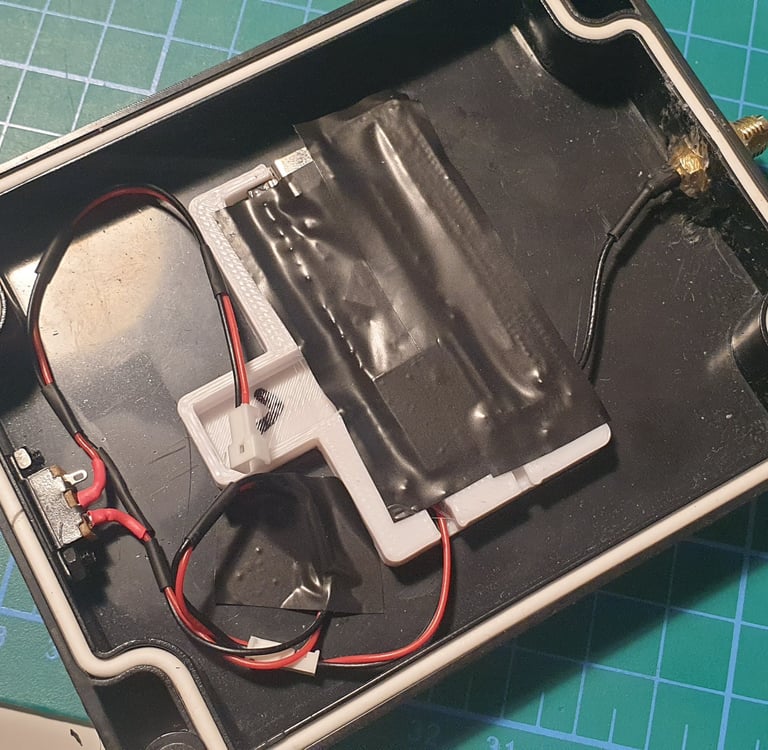
Insulate all wires with electrical tape. The battery compartment is now ready, and you can move on.
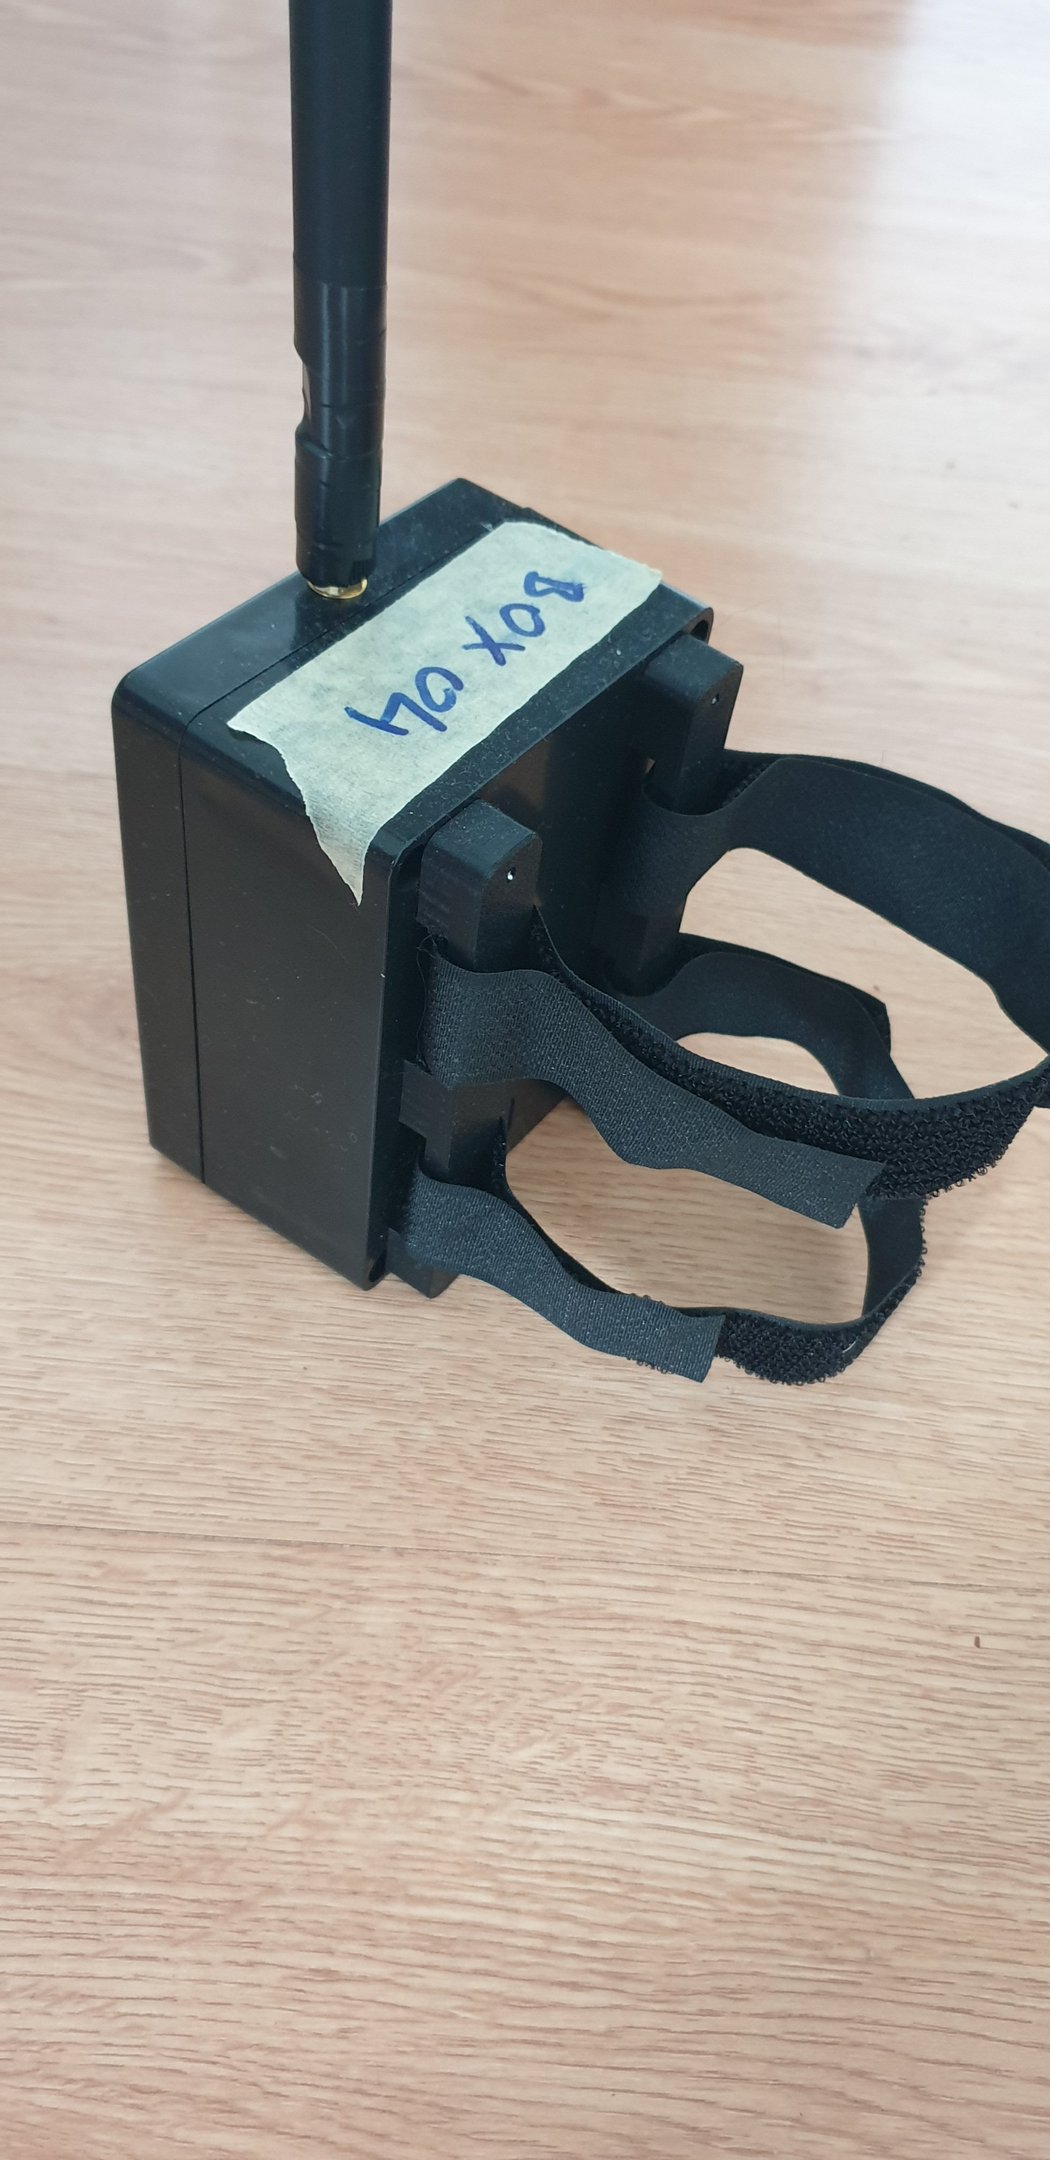
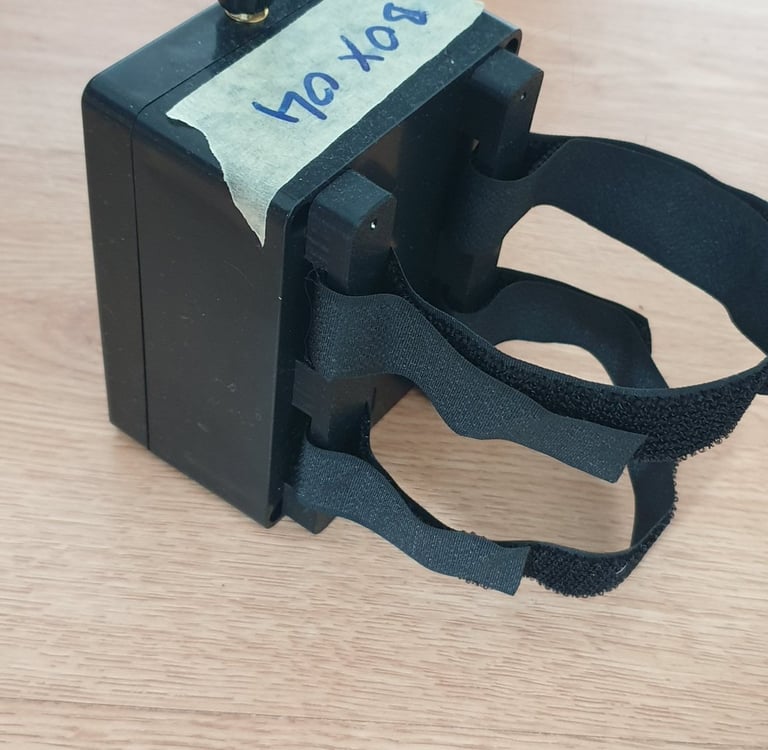
The box has holes for mounting screws, which can be used, attach holders for velcro straps.
Testing
I assume that a Faketec board was tested for before installation.
The most important thing with this box is to carefully check the battery pack for proper soldering, BMS connection, polarity. Use a multimeter to verify all connections before installing the first 18650 cell.
If everything is OK, connect the antenna and power to the board, then log in to the repeater using the Meshcore app, or pair it with your phone via BT if you want to use the box as a companion radio.
If the tests were successful, you can arrange the wires, screw the cover.
Your box is now ready for operation.
Cost
The total cost should be under 20 EUR , excluding the cost of the batteries.
3 EUR box
10 EUR faketec
? EUR 18650
0.1 EUR JST pigtail
3 EUR 2x 4x18650 batrery holder
2-5 EUR SMA pigtail + antena
0.2 EUR BMS
0.2 EUR On/Off switch
0.2 Screws
Advanced variants
This box has more space for additional components. I was installing there BME280 (the 3D insert has a spot for it), but recently I removed all elements that increase power consumption and raise the build cost.
So basically, it’s just a box, the Faketec board, a battery, and an antenna. The only extra “gadget” is the on/off switch 😄.
© 2025. All rights reserved.